27 DIY Christmas Pathway Lights for 2026
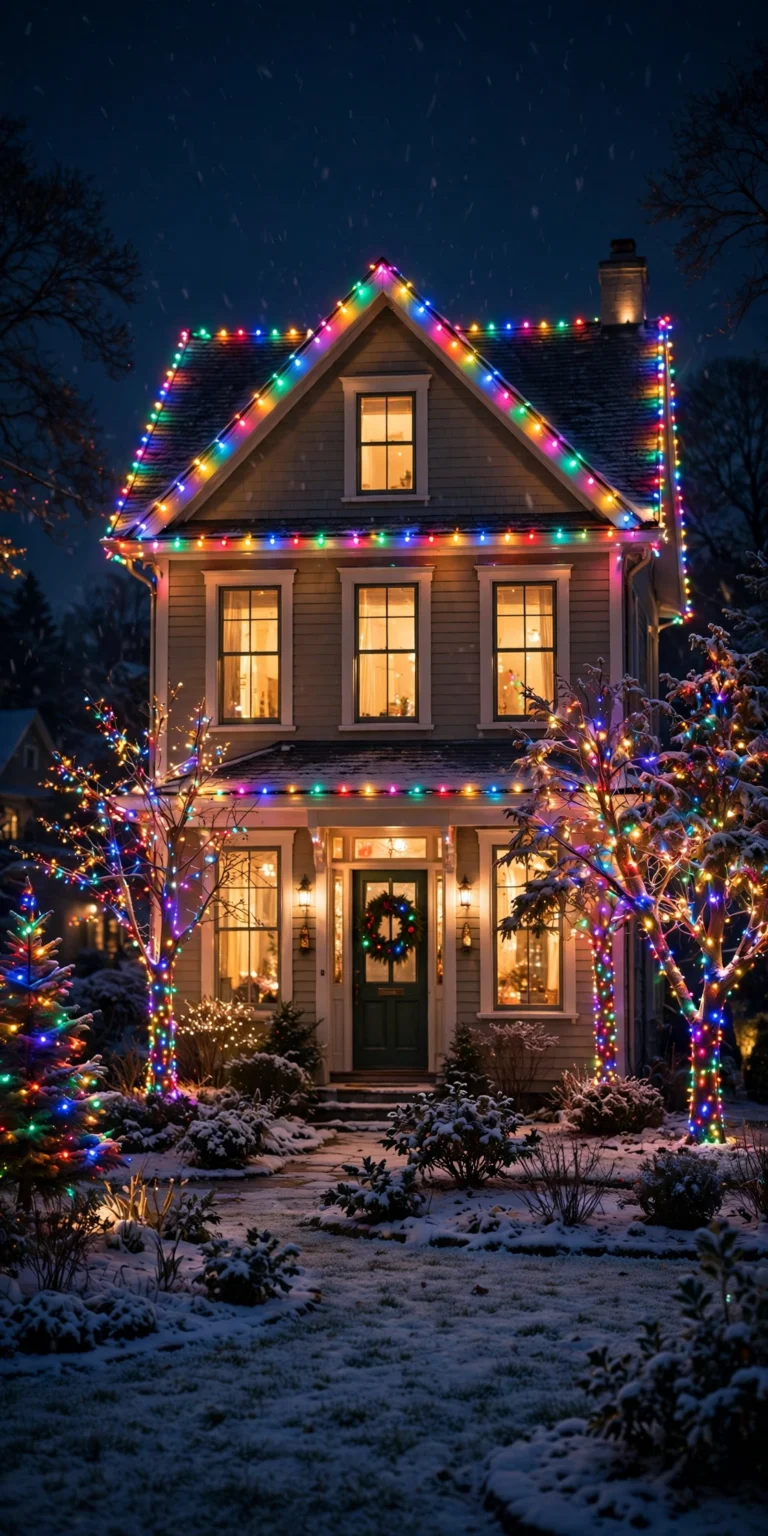
A glowing path turns an ordinary front walk into the loveliest part of the street. You do not need wiring or a big budget. These 27 DIY Christmas pathway lights are all handmade from jars, paper, tin, and garden cuttings. Pick three favourites and light your walkway this weekend.
Mason Jars & Paper Luminarias
Jars and paper bags are the oldest path-lighting trick there is. They cost pennies and need no wiring. Start here if you are new to handmade lights.
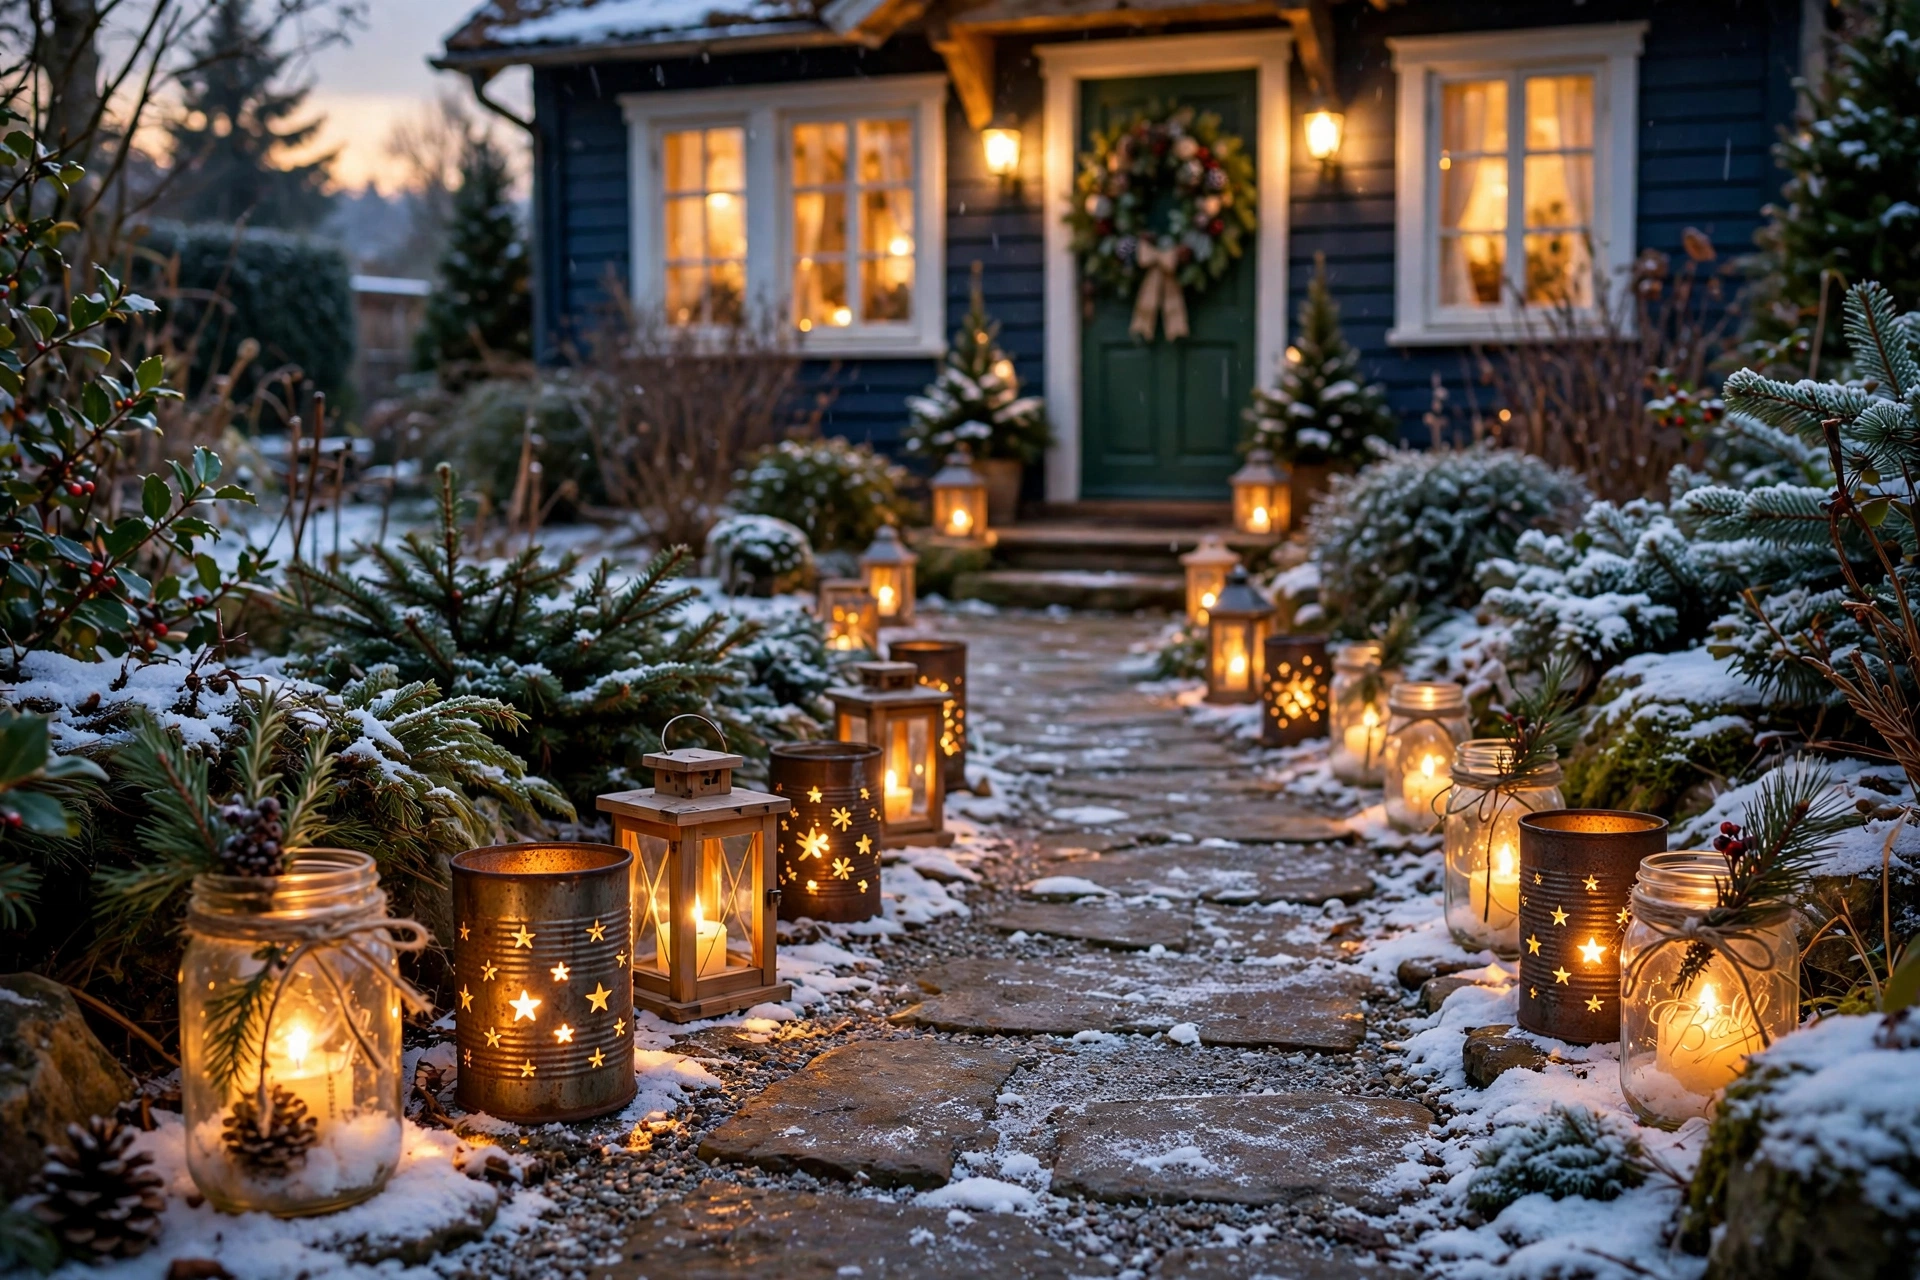
1. Set out mason jar luminarias
Drop one battery tealight into each wide-mouth mason jar. The glass softens the glow and keeps the light steady in wind. Ten jars a foot apart turn any path into a glowing walkway.
Try this today: Set out five jars tonight and see them at dusk.
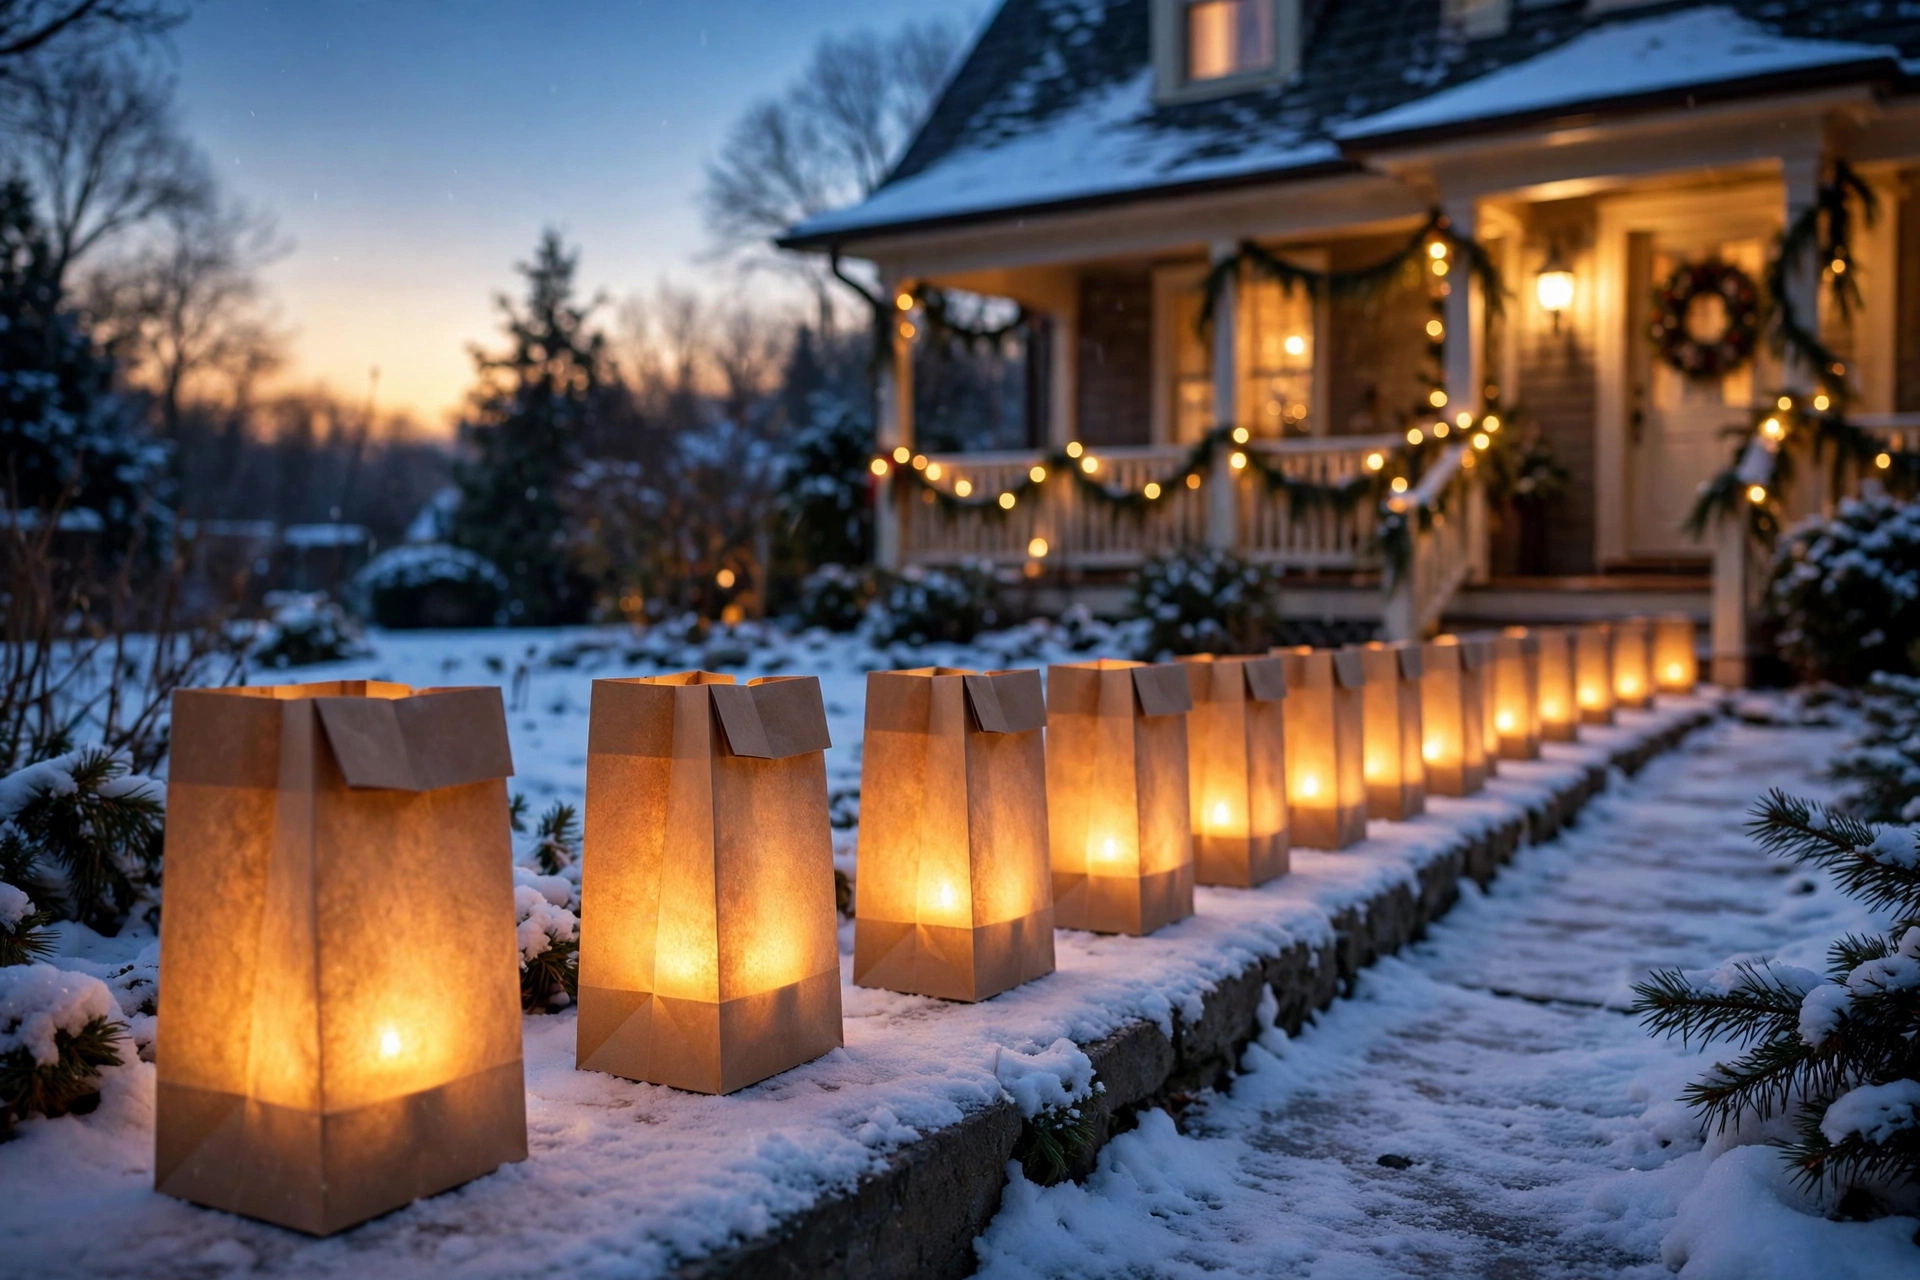
2. Fold classic paper bag luminarias
Fold the tops of brown paper bags down two inches so they stand tall. Add a handful of sand and a battery tealight to each. The paper glows amber and soft. These are the cheapest path lights ever — bring them in before rain.
Try this today: Fold six bags after dinner and light them tonight.
3. Sponge frost paint onto plain jars
Dab white craft paint onto plain jars with a kitchen sponge. The uneven coat glows beautifully with a tealight inside. Leave the rim bare so you can tie a ribbon there. Old pickle jars work just as well as mason jars.
Try this today: Paint two jars and hold a tealight behind them.
4. Roll jars in Epsom-salt “snow”
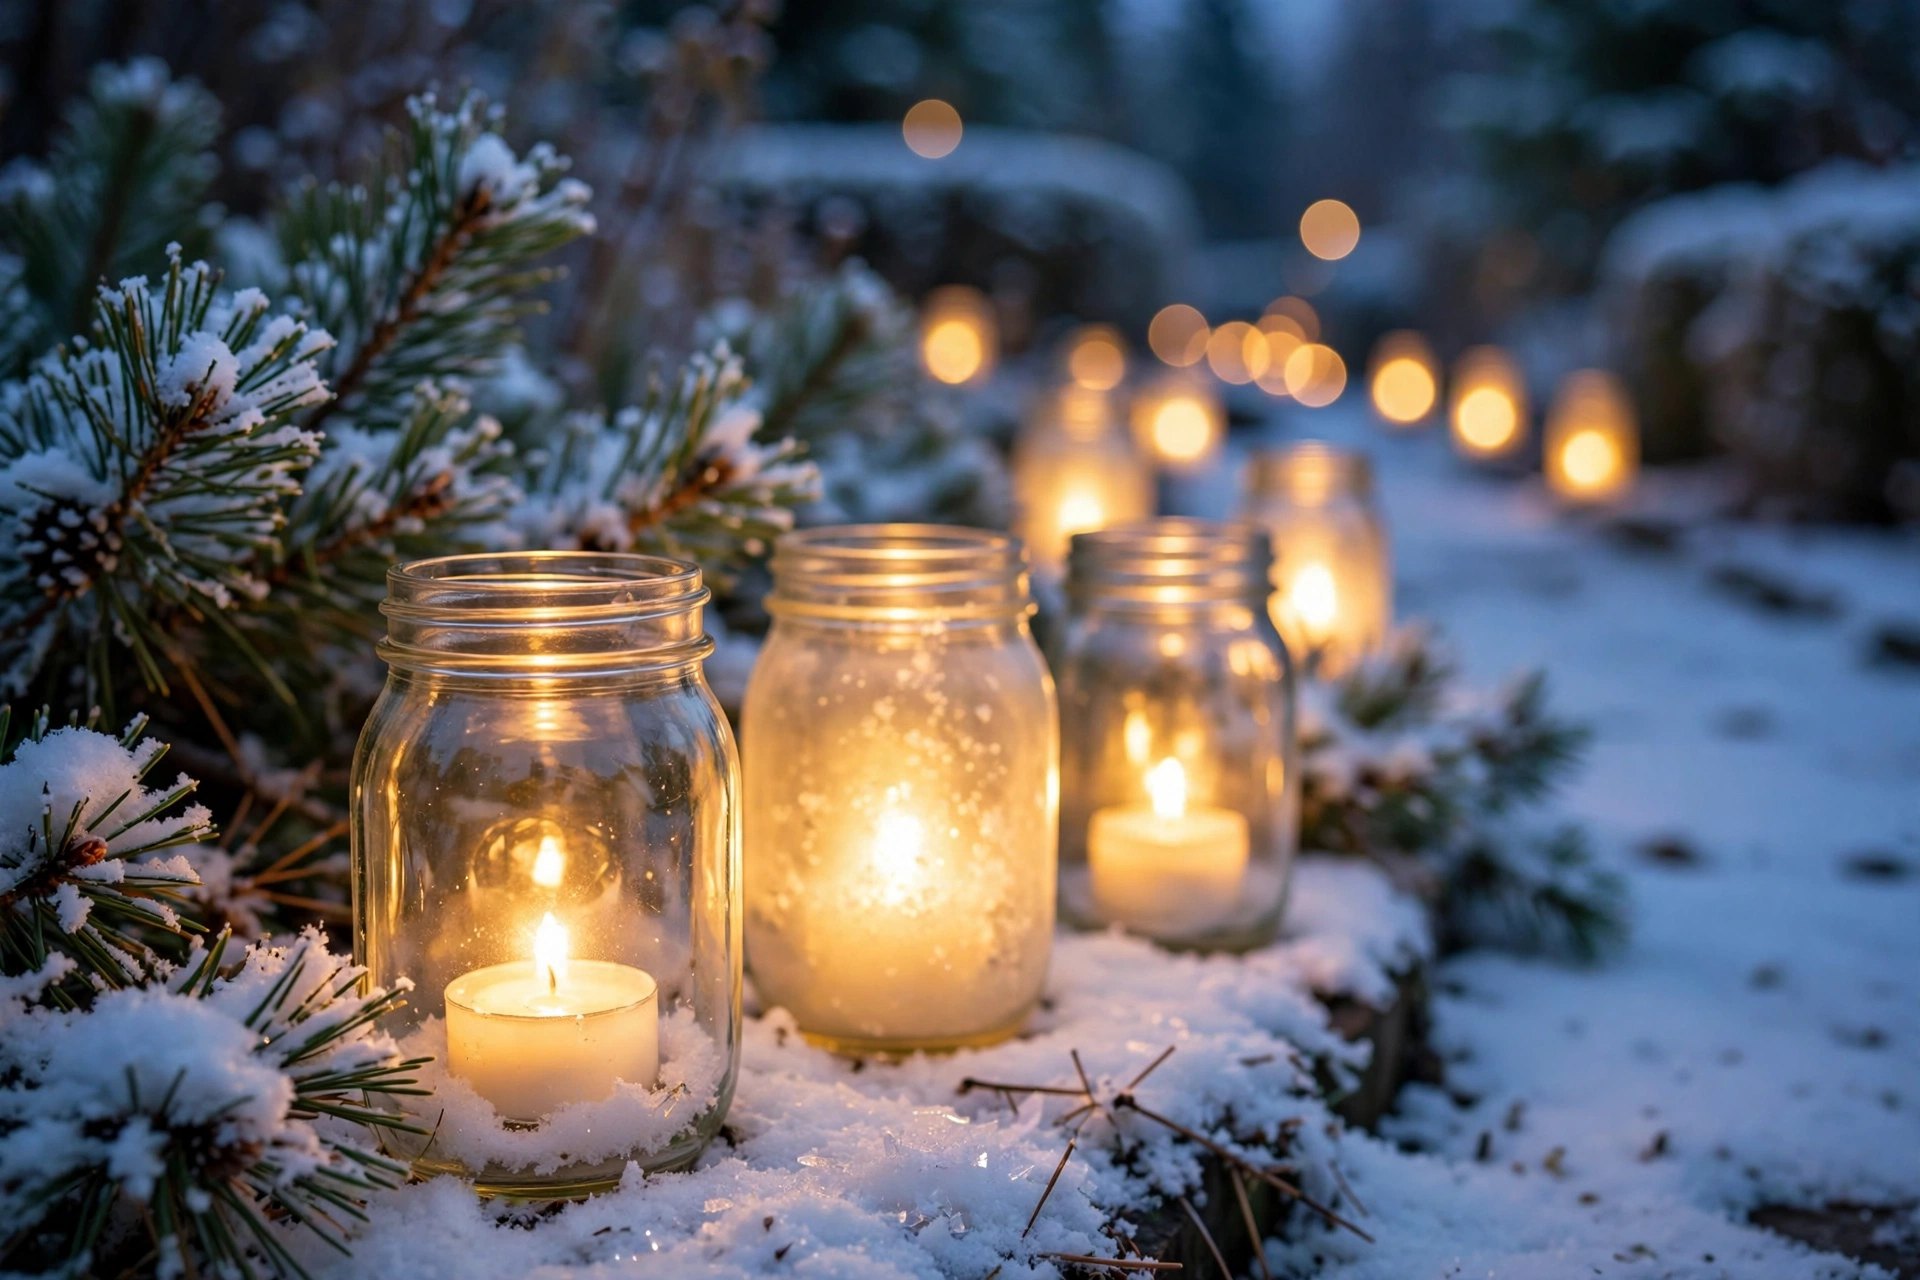
Brush a jar with craft glue, then roll it in Epsom salt for a snowy sparkle. The crystals catch the candlelight like real snow. Finish with a pine sprig tied with twine. They look dear but cost almost nothing.
Try this today: Salt-coat one jar and compare it with a plain one at night.
5. Top wine bottles with solar cap lights
Save green and amber wine bottles and pop a solar cap light on each. The bottles glow from within at dusk with no batteries to change. Soak labels off in warm soapy water for a cleaner look. One bottle every three feet is plenty.
Try this today: Clean three bottles today so they are ready for caps.
6. Wrap jars in copper foil with star cut-outs
Wrap a jar in self-adhesive copper foil and prick stars through it with a pin. The tealight throws tiny stars across the path. Keep the stars small and many. They look like bought lanterns at a fraction of the price.
Try this today: Foil-wrap one jar and prick a constellation of stars.
Tin Cans, Buckets & Metal Lanterns
Metal pieces throw the brightest glow and stand up best to wind. Raid the kitchen cupboards and the shed before you buy anything new. Tin, enamel, and wire all make wonderful lanterns.
7. Punch tin-can lanterns the easy way
Fill a tin can with water and freeze it solid. The ice holds the metal firm while you punch holes with a hammer and nail. Draw your pattern first with a marker. Once it melts and dries, set a battery tealight inside. The punched holes spray the path with light.
Try this today: Freeze two cans tonight and punch them tomorrow.
8. Light a galvanized bucket from within
Set a small candle jar inside an old galvanized bucket. The metal sides bounce the glow out through the open top. One bucket at each path corner anchors the whole line. Punch a few small holes in the sides for leaks of light. These look like treasures from a country farm sale.
Try this today: Check the shed for an old bucket you can use.

9. Use old enamel pots as candle lanterns
Chipped enamel pots you were going to throw away make perfect lanterns. The chipped paint reads as rustic charm at night. Drop a tealight jar inside each pot and line them up. Group three different sizes for a gathered look. Neighbours will ask where you bought them.
Try this today: Rescue one chipped pot from the back of the cupboard.
10. Group candle jars in wire baskets
Set three candle jars inside one small wire basket. The basket makes them one decoration instead of three scattered jars. Carry it indoors in storms and set it back out after. Choose open weave so the light escapes. One basket per path corner is enough.
Try this today: Fill one basket with jars and test the glow tonight.
11. Cluster thrifted brass candlesticks
Hunt charity shops for tall brass or copper candlesticks. Cluster them in odd numbers along the path edge with a battery candle on each. The warm metal glows and looks expensive. Keep them low enough to see over when walking. An old brass teapot beside them completes the scene.
Try this today: Visit one charity shop and look for a pair.

Wooden & Rustic Path Markers
Wood adds height and stands firm in wind. These markers pair beautifully with glowing jars. Most need only offcuts and twine.
12. Wrap jars in twigs
Gather straight twigs and glue them upright around a jar. Tie the bundle with garden twine and set a tealight inside. The twigs break the glow into lovely stripes. Cut twigs to the same height for a tidy look.
Try this today: Collect straight twigs on your next walk.
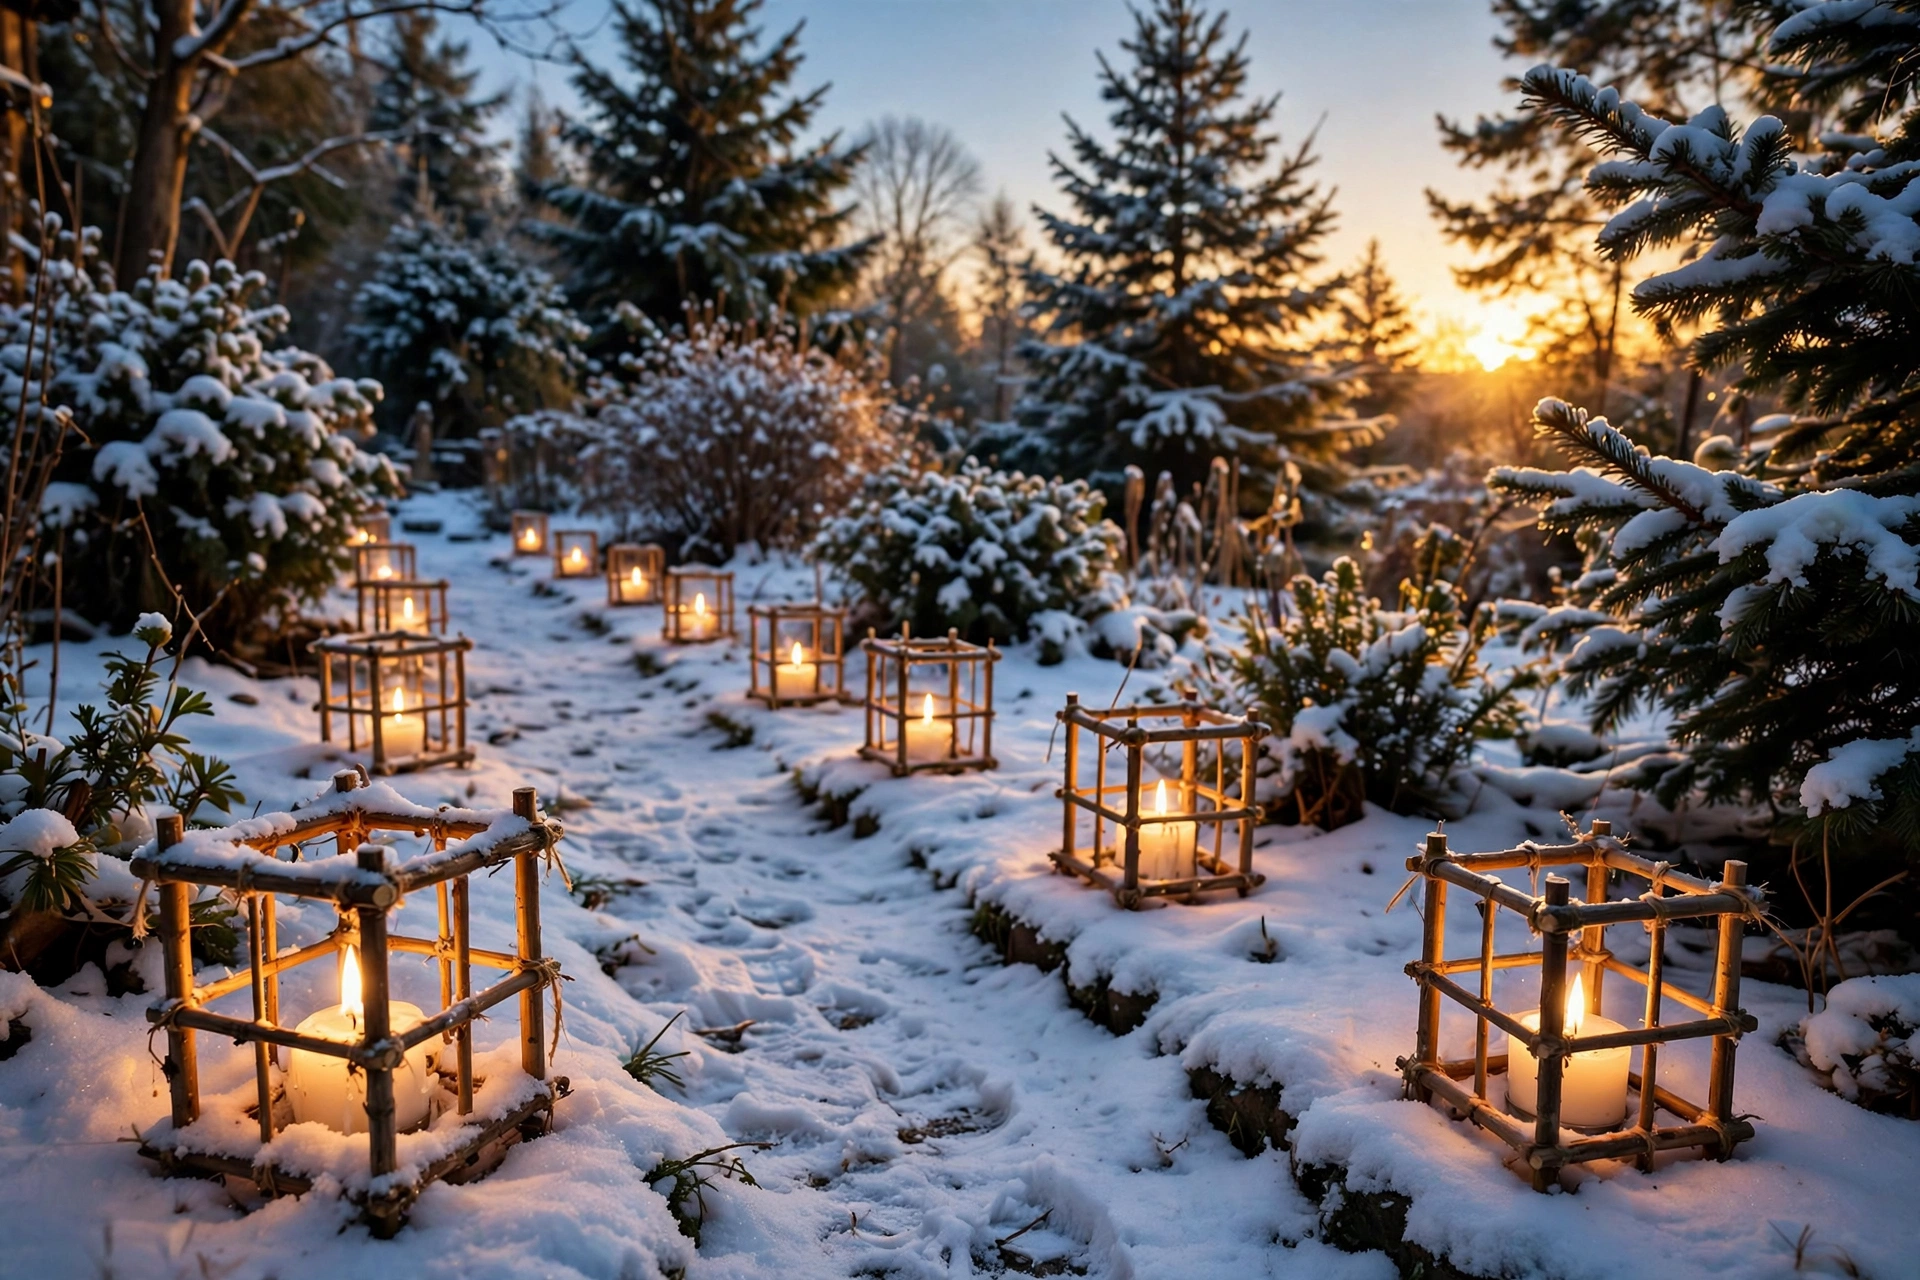
13. Build wooden cube lanterns from dowels
Glue four short dowels into a square frame, then stack frames into a cube. Drop a candle jar inside. The open frame lets light spill every way. Make two or three matching cubes for a repeated rhythm. Sand the dowels first so the glue holds.
Try this today: Cut dowels for one frame and test the glue.
14. Set candle jars on mini log rounds
Saw chunky log rounds and set candle jars on top. The round lifts the glow above low plants and snow. Keep the bark on. Drill a shallow well in the top so the jar sits steady.
Try this today: Saw two rounds from a firewood log.
15. Hang jar lanterns from shepherd’s hooks
Push shepherd’s hooks into the ground and hang jars from them. The light hangs at eye level and lights the walker’s way. Wrap jar necks with wire for a hanging loop. Alternate hooks left and right. Push hooks deep so wind cannot topple them.
Try this today: Push one hook in and hang a jar to test the height.
16. Cut mini wooden house lanterns
Cut small house shapes from plywood with a square window cut out. Paint them white and set a tealight behind the window. At night the window glows like someone is home. Vary roof heights for a little village feel. Seal the wood so they last for years.
Try this today: Sketch one house shape on cardboard first.
17. Ring jar bases with pinecones
Arrange pinecones in a tight ring around each jar’s base. The cones hide the plain bottom and add woodland texture. Glue them to a cardboard ring so they lift in as one piece. Add a dusting of fake snow. Collect cones on your next winter walk.
Try this today: Gather twenty pinecones and glue one ring.

Garden-Green Jar Lights
Bring the garden into your path lights with greenery, berries, and spices. These jars smell as good as they look. Cut everything fresh for the best colour.
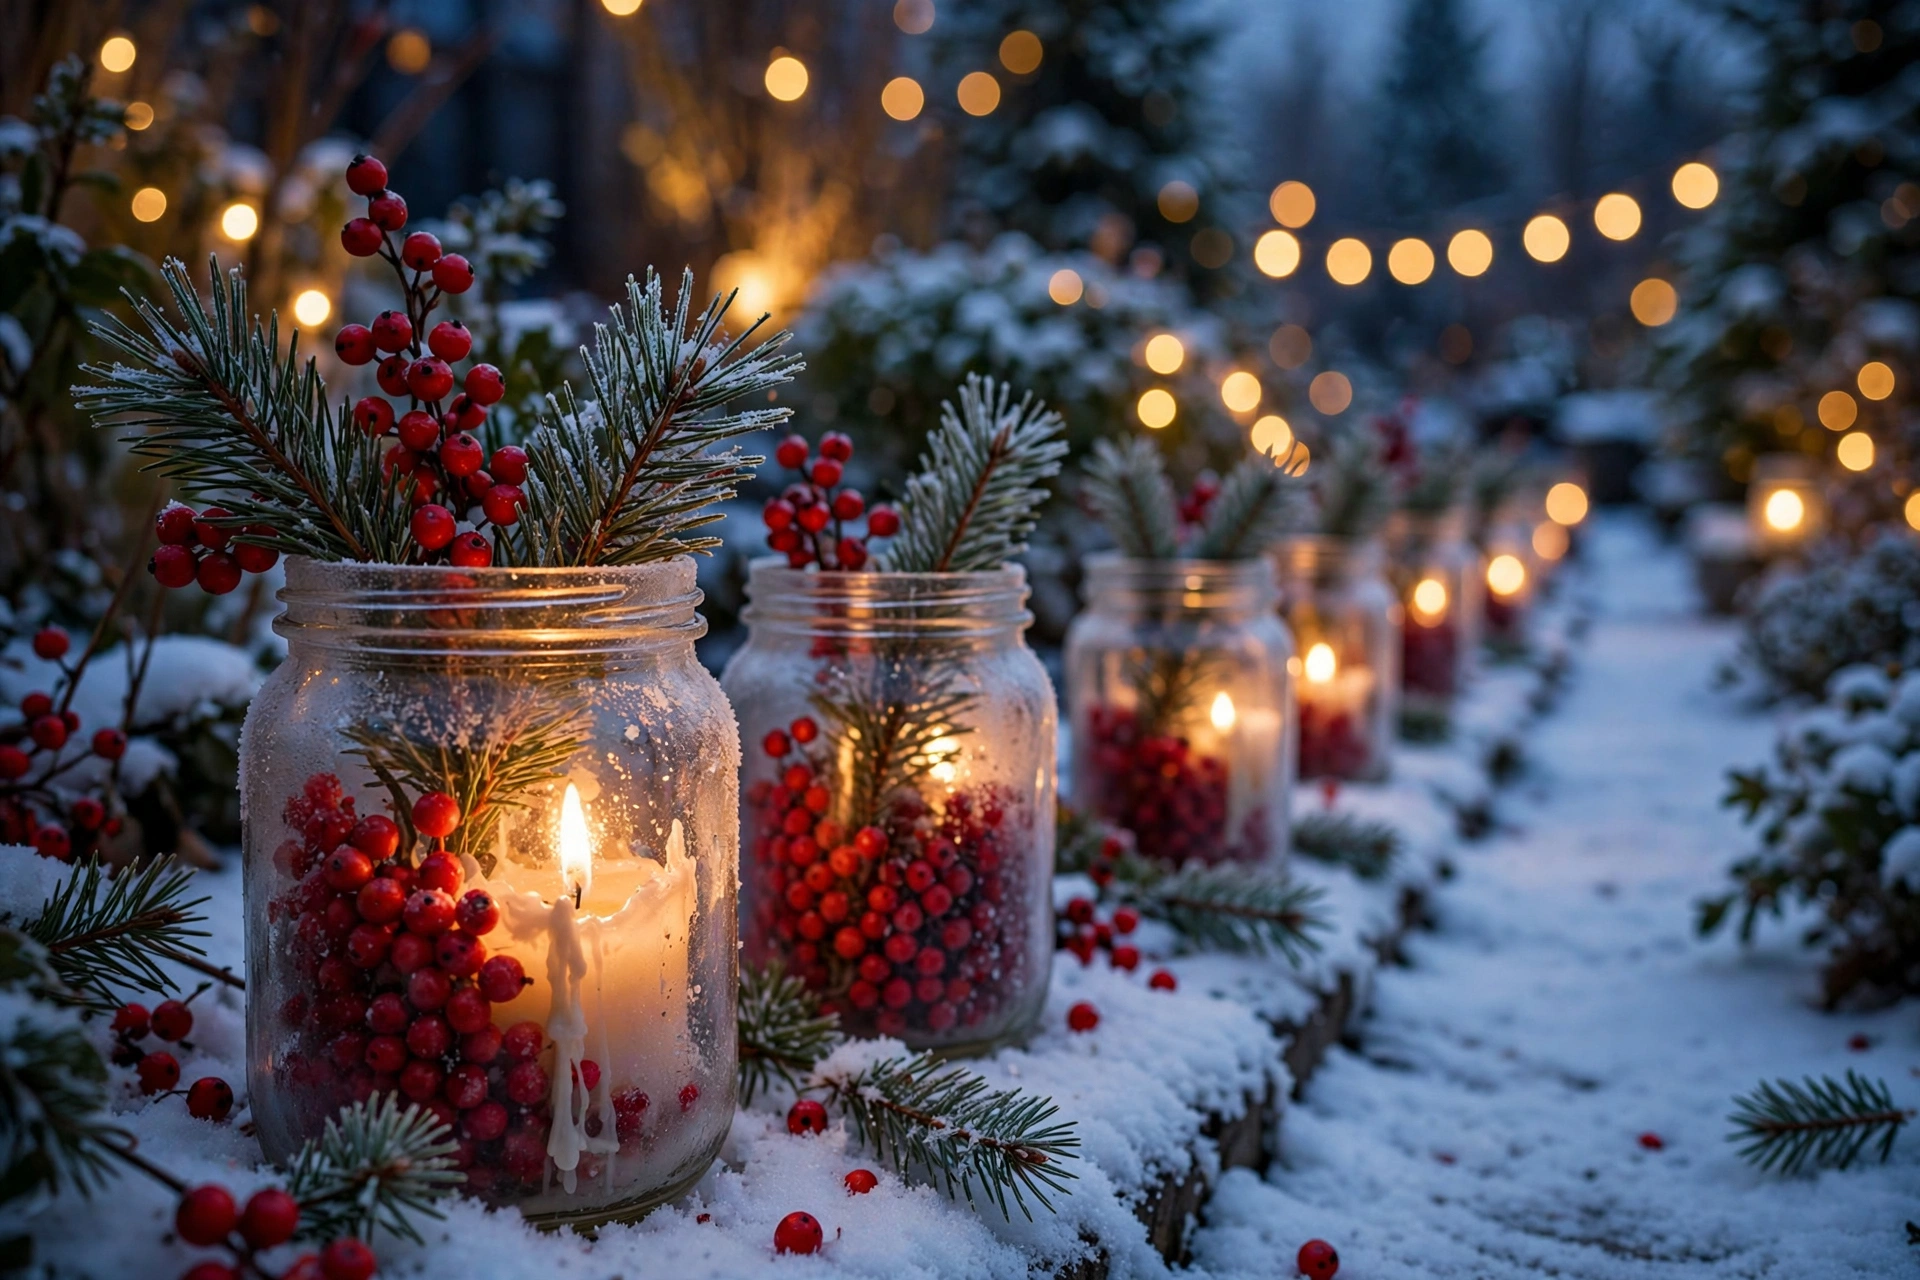
18. Fill jars with red berries and pine
Push pine sprigs and red berry stems into a wide jar around a battery candle. The red and green glow through the glass in the dark. Fake berries work if birds have stripped the garden. Keep stems below the rim so the light spills out. These are the prettiest jars you will make.
Try this today: Cut one pine sprig and try a single test jar.
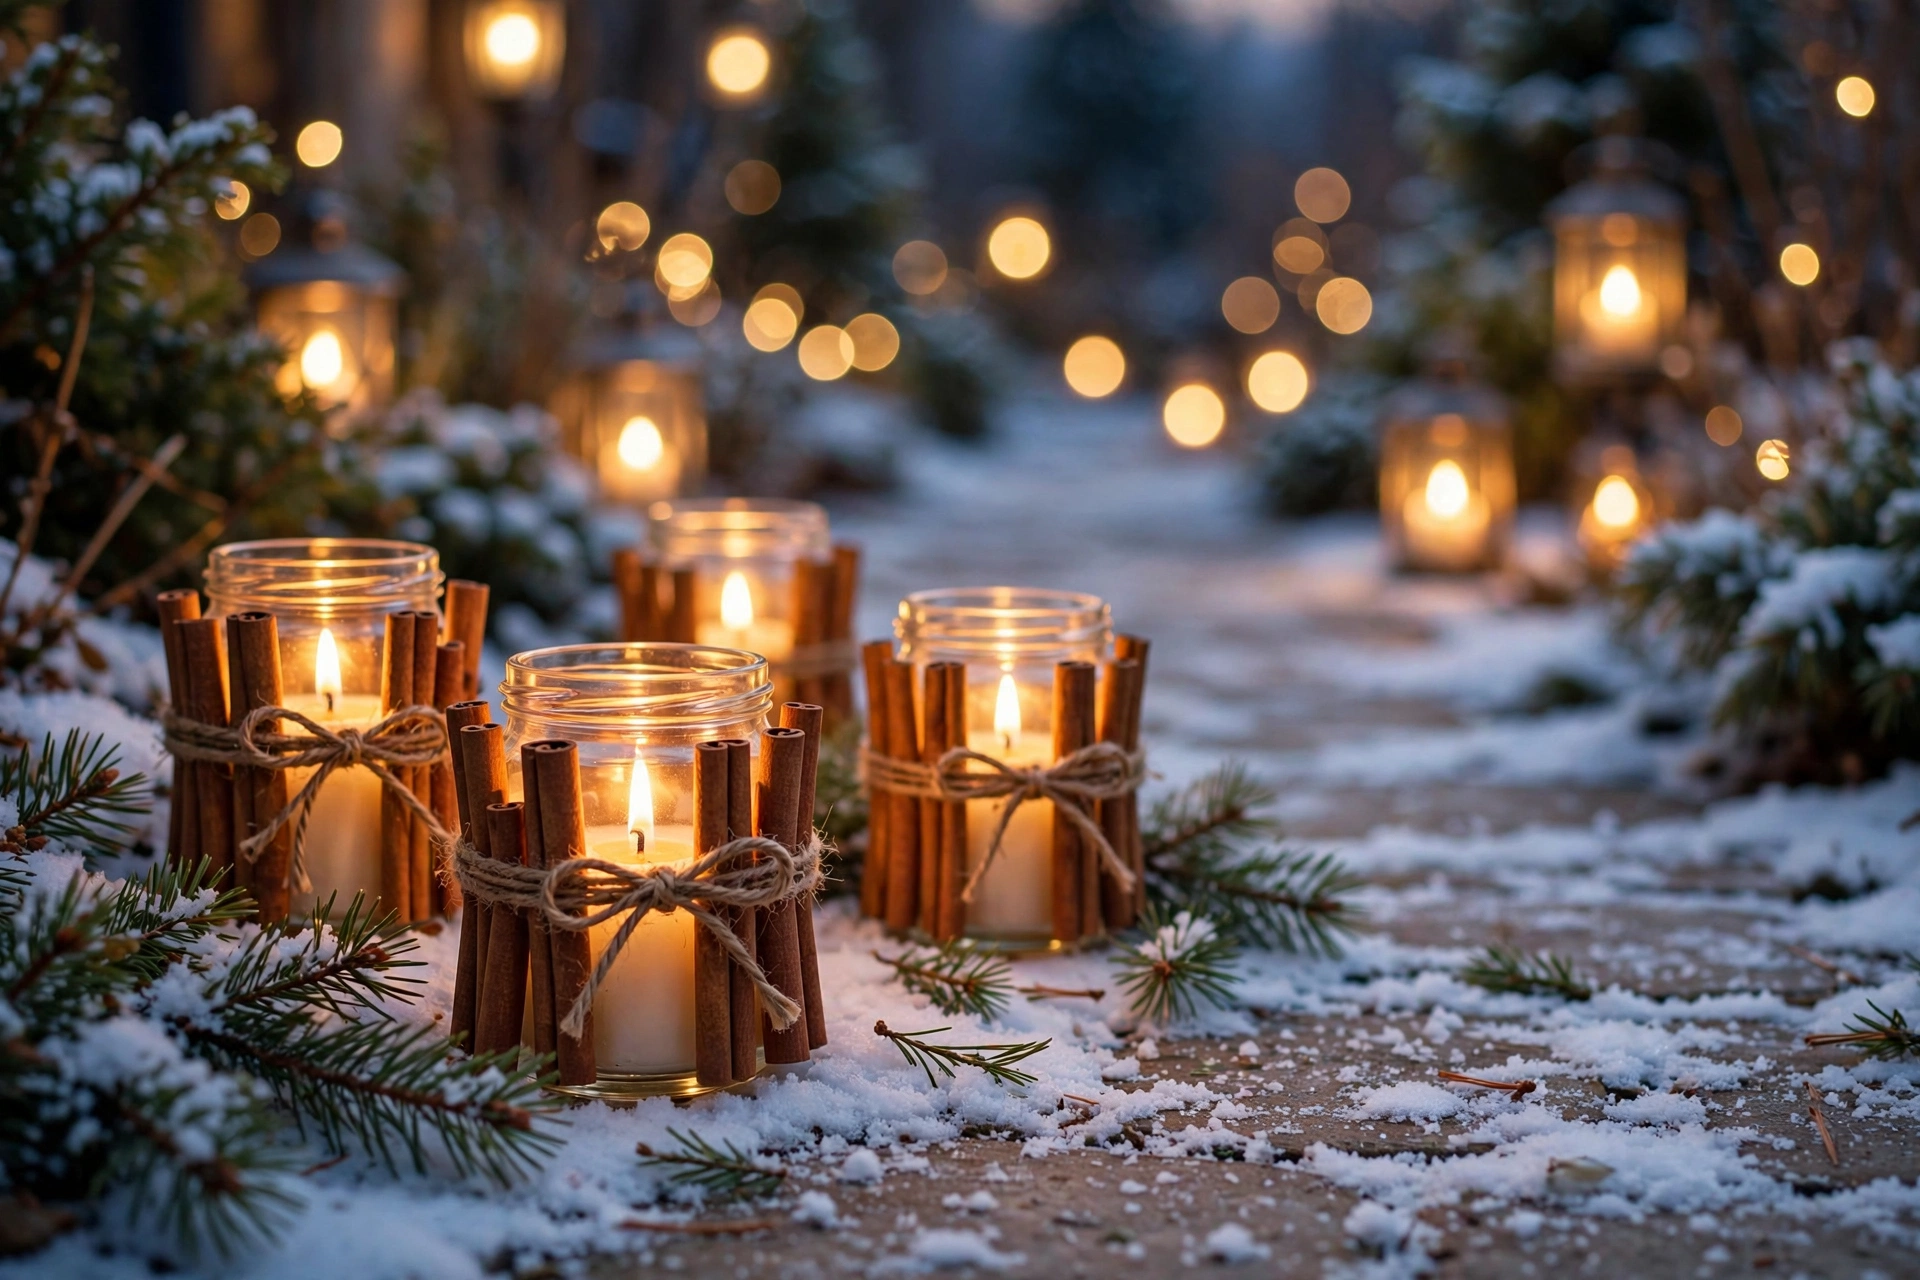
19. Wrap candle jars in cinnamon sticks
Tie a ring of cinnamon sticks upright around a candle jar with twine. The sticks warm in the candlelight and release a gentle scent. Use a rubber band first, then cover it with ribbon. Guests will stop to sniff these on the way in. Ten sticks per jar is about right.
Try this today: Band sticks around one jar as a test.
20. Hang jars from staked pine sprigs
Push small pine branches into the ground like stakes and hang a jar lantern from each. The light hangs among the greenery at knee height. Tie the jar on with wire looped through the twine wrap. Two sprigs per path corner make a little woodland gateway. Cut sprigs on a dry day so needles stay on.
Try this today: Stake two sprigs at one corner and hang the jars.
21. Tie rosemary bundles to jar necks
Tie a small bundle of rosemary to each jar neck with twine. The grey-green needles look wintry against the glow. Guests brush past and release the scent. Use fresh rosemary so it stays supple. Refresh the bundles halfway through December.
Try this today: Snip rosemary for two bundles and tie them on.
22. Float orange slices and holly in wide jars
Fill a wide jar half with water and float dried orange slices and holly leaves. Set a floating tealight on top. The orange glows through the water like little lanterns. Refresh the water every few days to keep it clear. Bring these in on hard frost nights.
Try this today: Dry orange slices in a low oven this afternoon.
Placing Them & Keeping Them Lit
Where you put your lights matters as much as how you make them. These five rules come from years of trial and error. Get the layout right and simple jars look magical.
23. Use the stagger rule
Set jars in a zigzag, alternating left and right of the path. Straight soldier lines look stiff; a zigzag feels like a wandering woodland trail. Keep each jar about two feet from the path edge. Step back to the street to check the line before you finish.
Try this today: Sketch your zigzag on paper before carrying jars out.
24. Match sides to path width
A narrow path needs lights on one side only — two sides would crowd it. Wide paths get lights on both sides for balance. Match the light to the path width, not your neighbour’s display. A short path suits five jars; a long one wants ten. When in doubt, light one side and add the second next year.
Try this today: Measure your path and decide on one side or two.
25. Lead the eye to the door
Put your brightest cluster where you want eyes to land — the front door. Make the glow grow gently stronger as the path nears the house. Leave the far end slightly dimmer. Visitors follow the light straight to you.
Try this today: Stand at the street at dusk and see where your eye goes.
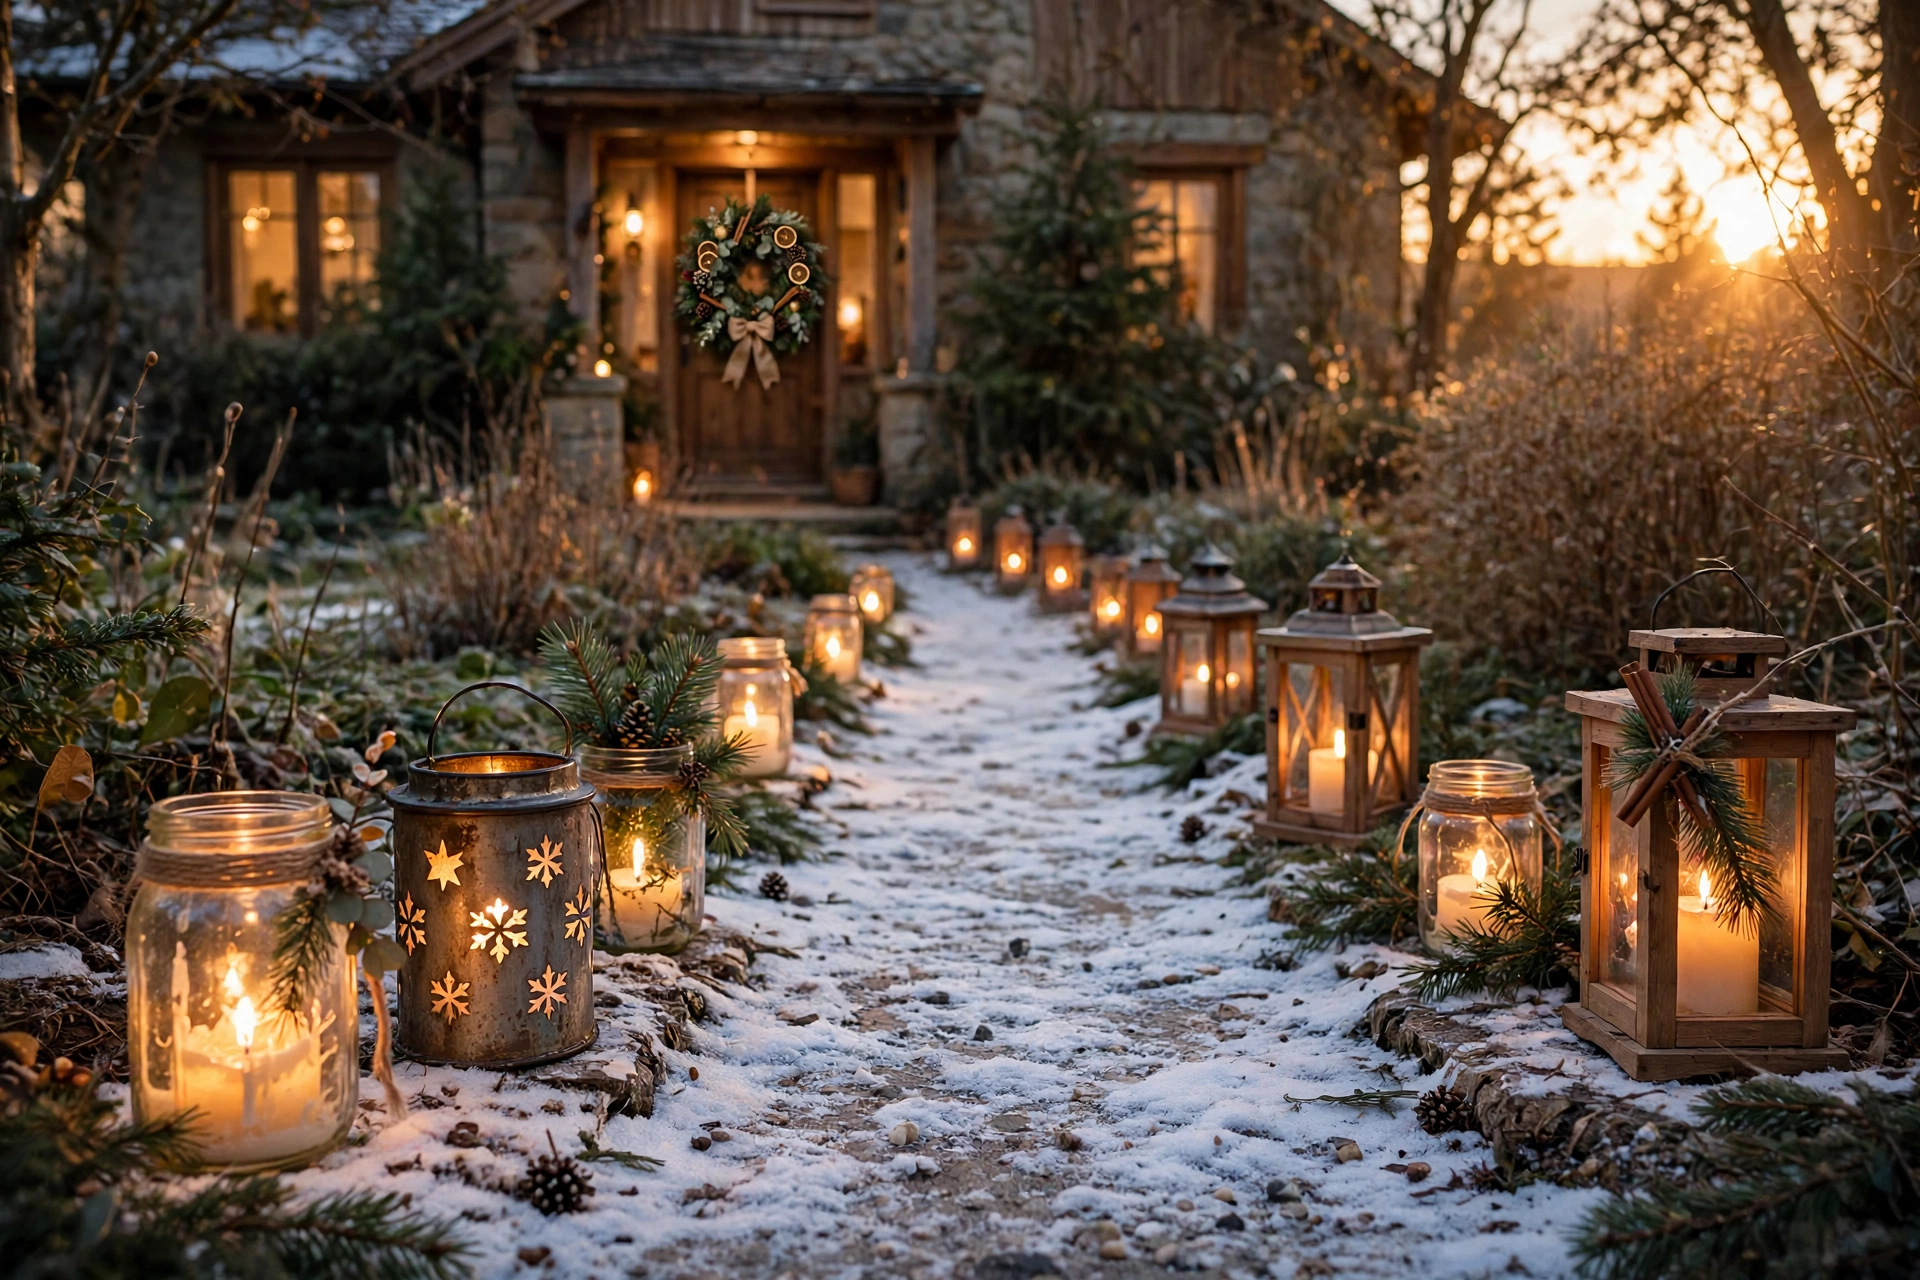
26. Windproof jars with pebbles and depth
Put a handful of pebbles in every outdoor jar. The weight stops jars toppling in gusts, and the candle sits steady. Deep jars shield flames better than shallow ones. Battery candles are the simplest answer on wild nights. Check the forecast and swap candles before storms.
Try this today: Add pebbles to three jars tonight as a test.
27. Care for jars in rain and snow
Set each jar on a flat stone to lift it out of puddles and melting snow. After rain, empty water from the jars and replace any soggy paper bags. Wipe jar rims dry so they do not frost over. A little care after each storm keeps the whole path glowing. Your lights will thank you all season.
Try this today: Place flat stones under two jars before the next rain.

FAQs — DIY Christmas Pathway Lights
What is the cheapest way to light a Christmas path?
Folded paper bag luminarias with sand and a battery tealight — each one costs well under a pound. Make ten bags in twenty minutes and your path glows all season. They are the classic budget path light for a reason.
How do I keep candles lit in the wind?
Set candles inside deep jars or buckets so the walls shield the flame. Add pebbles for weight so nothing topples. On wild nights, swap real flames for battery candles — they cannot blow out at all.
Will my jars crack in frost?
Most jars handle light frost fine, especially wide-mouth ones. In hard frost, use battery candles instead of real flames — sudden heat changes crack glass. Bring floating water jars indoors on the coldest nights.
How many lights do I need for a 20-foot path?
Space lights every two to three feet, which works out to eight to ten lights. Narrow paths suit one staggered side; wide paths look better with both sides lit. Start with eight and add more if the path still looks dark.
These 27 ideas share one secret: the path looks best when the lights are handmade. Pick your three favourites this weekend, gather jars and candles on one trip, and enjoy the loveliest walkway on the street — built by your own hands.
Save this guide to your Christmas board and share it with a neighbour — then tell me in the comments which idea you tried first.