26 DIY Christmas Yard Decorations for 2026
The loveliest yards on the street are rarely the most expensive ones. They are the handmade ones — painted wood, stacked logs, and planters you filled yourself. These 26 DIY Christmas yard decorations are all doable in an afternoon with simple supplies. Pick three favourites and make your front lawn the one neighbours slow down for.
Lawn Displays & Figurines
Big shapes are what people see from the road, so start with two or three handmade figures and let them carry the yard.
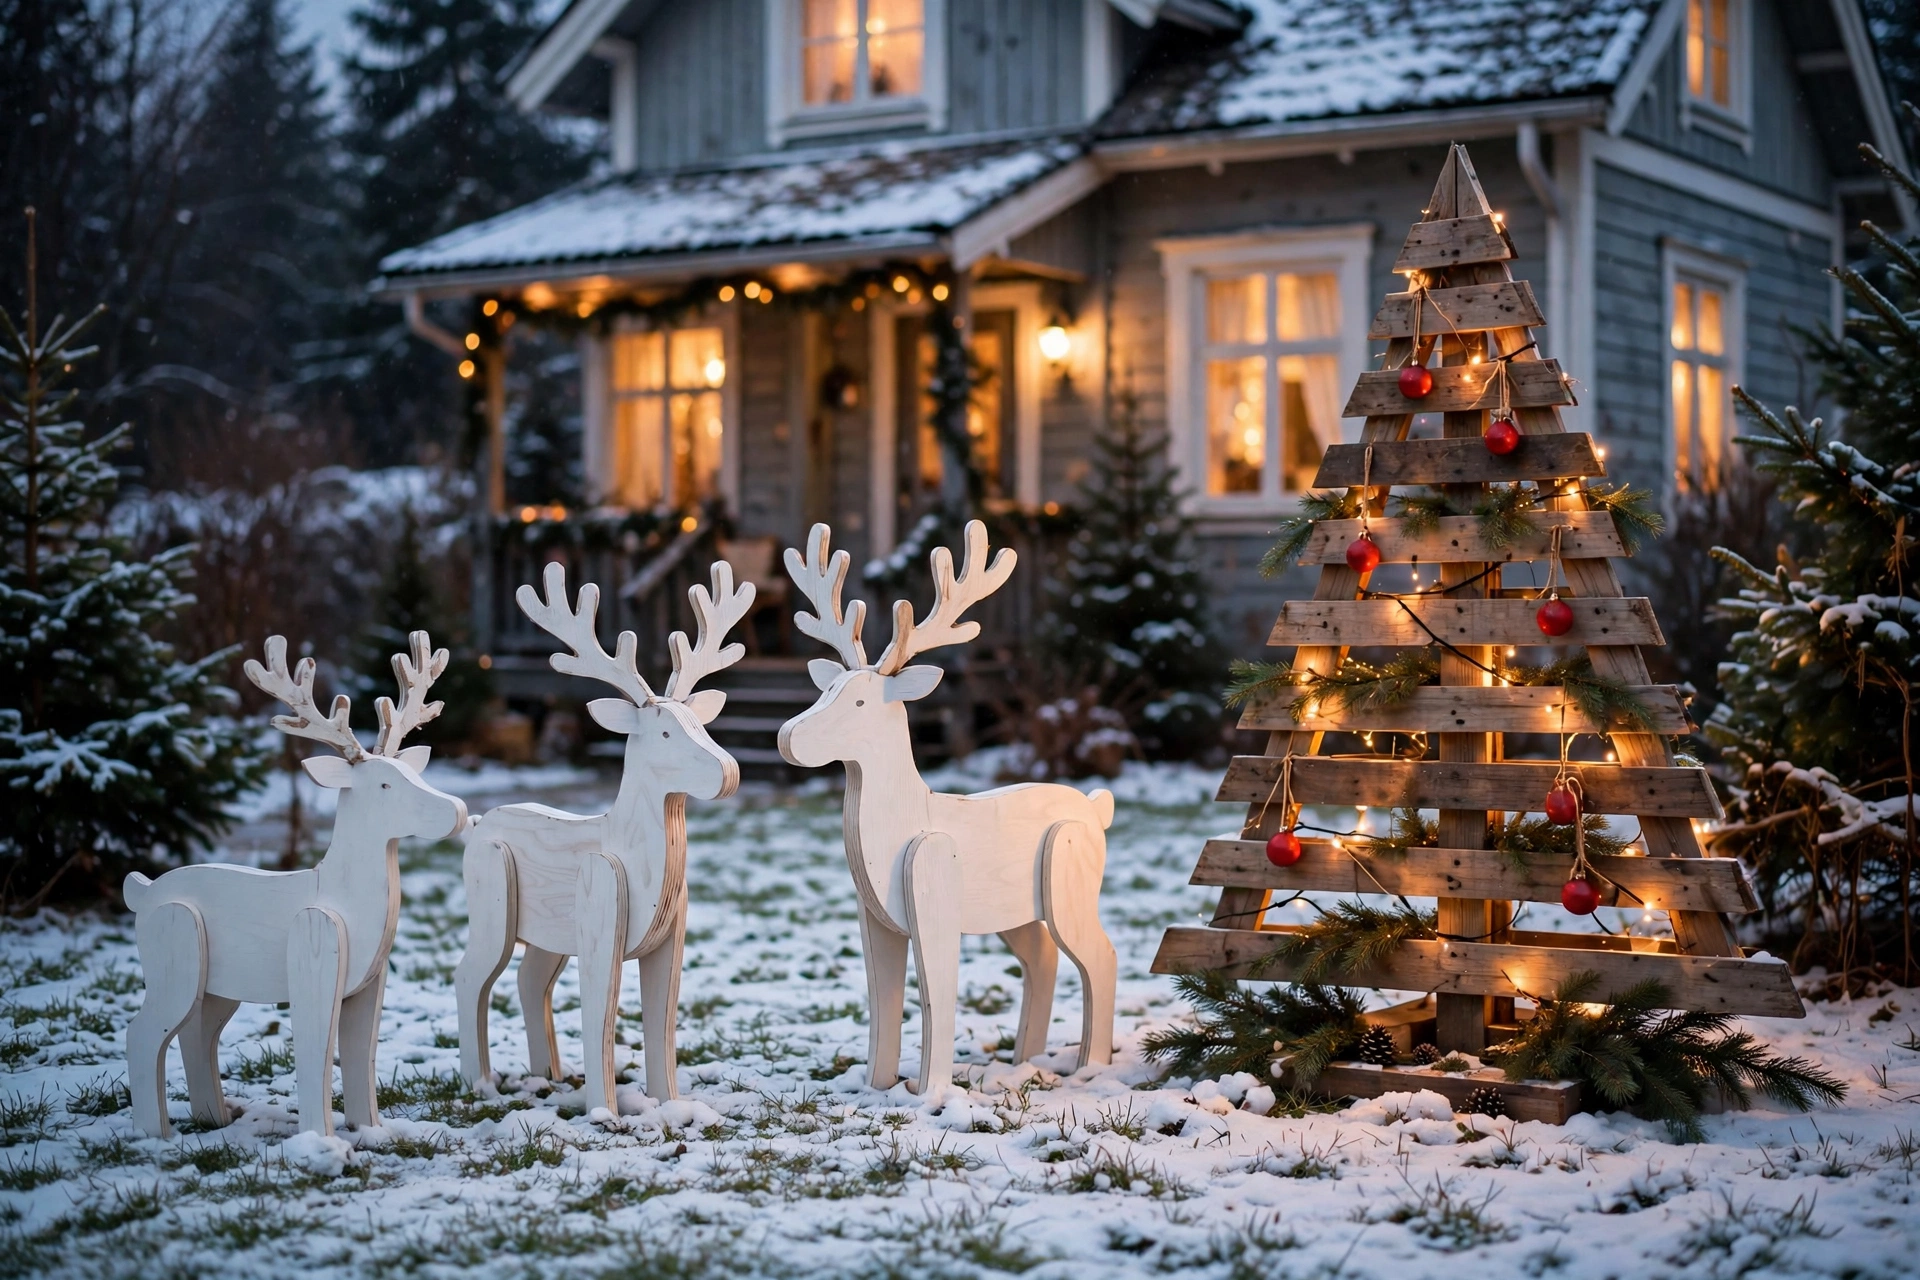
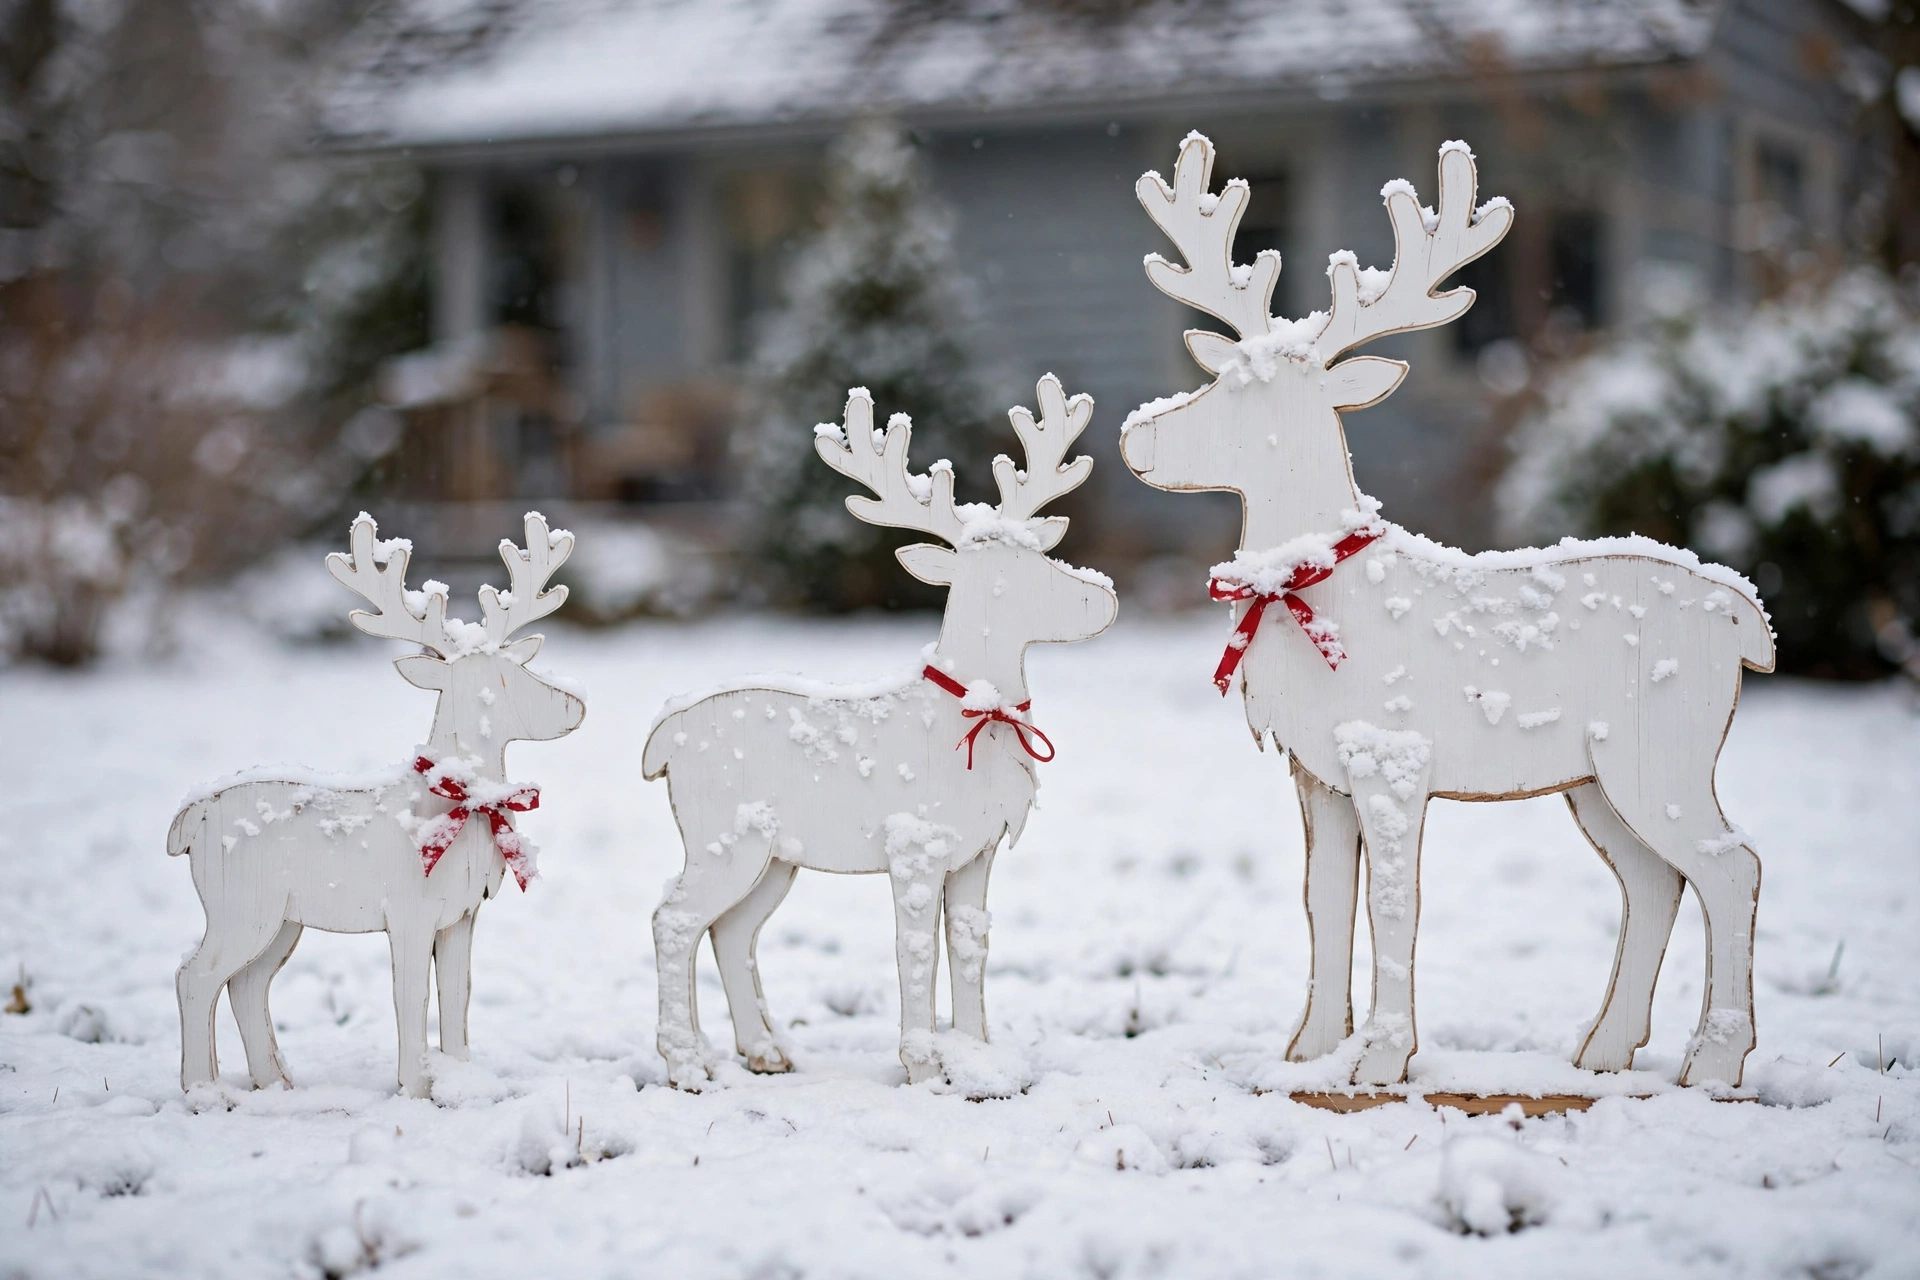
1. Cut a plywood reindeer family
Trace a reindeer outline onto plywood and cut it out with a jigsaw. Paint it white or brown, then seal both sides with outdoor varnish. Bolt a rebar stake to the back so it stands straight in frozen soil. Three reindeer in different sizes read as a family.
Try this today: Print one free reindeer template and cut the smallest one this weekend.
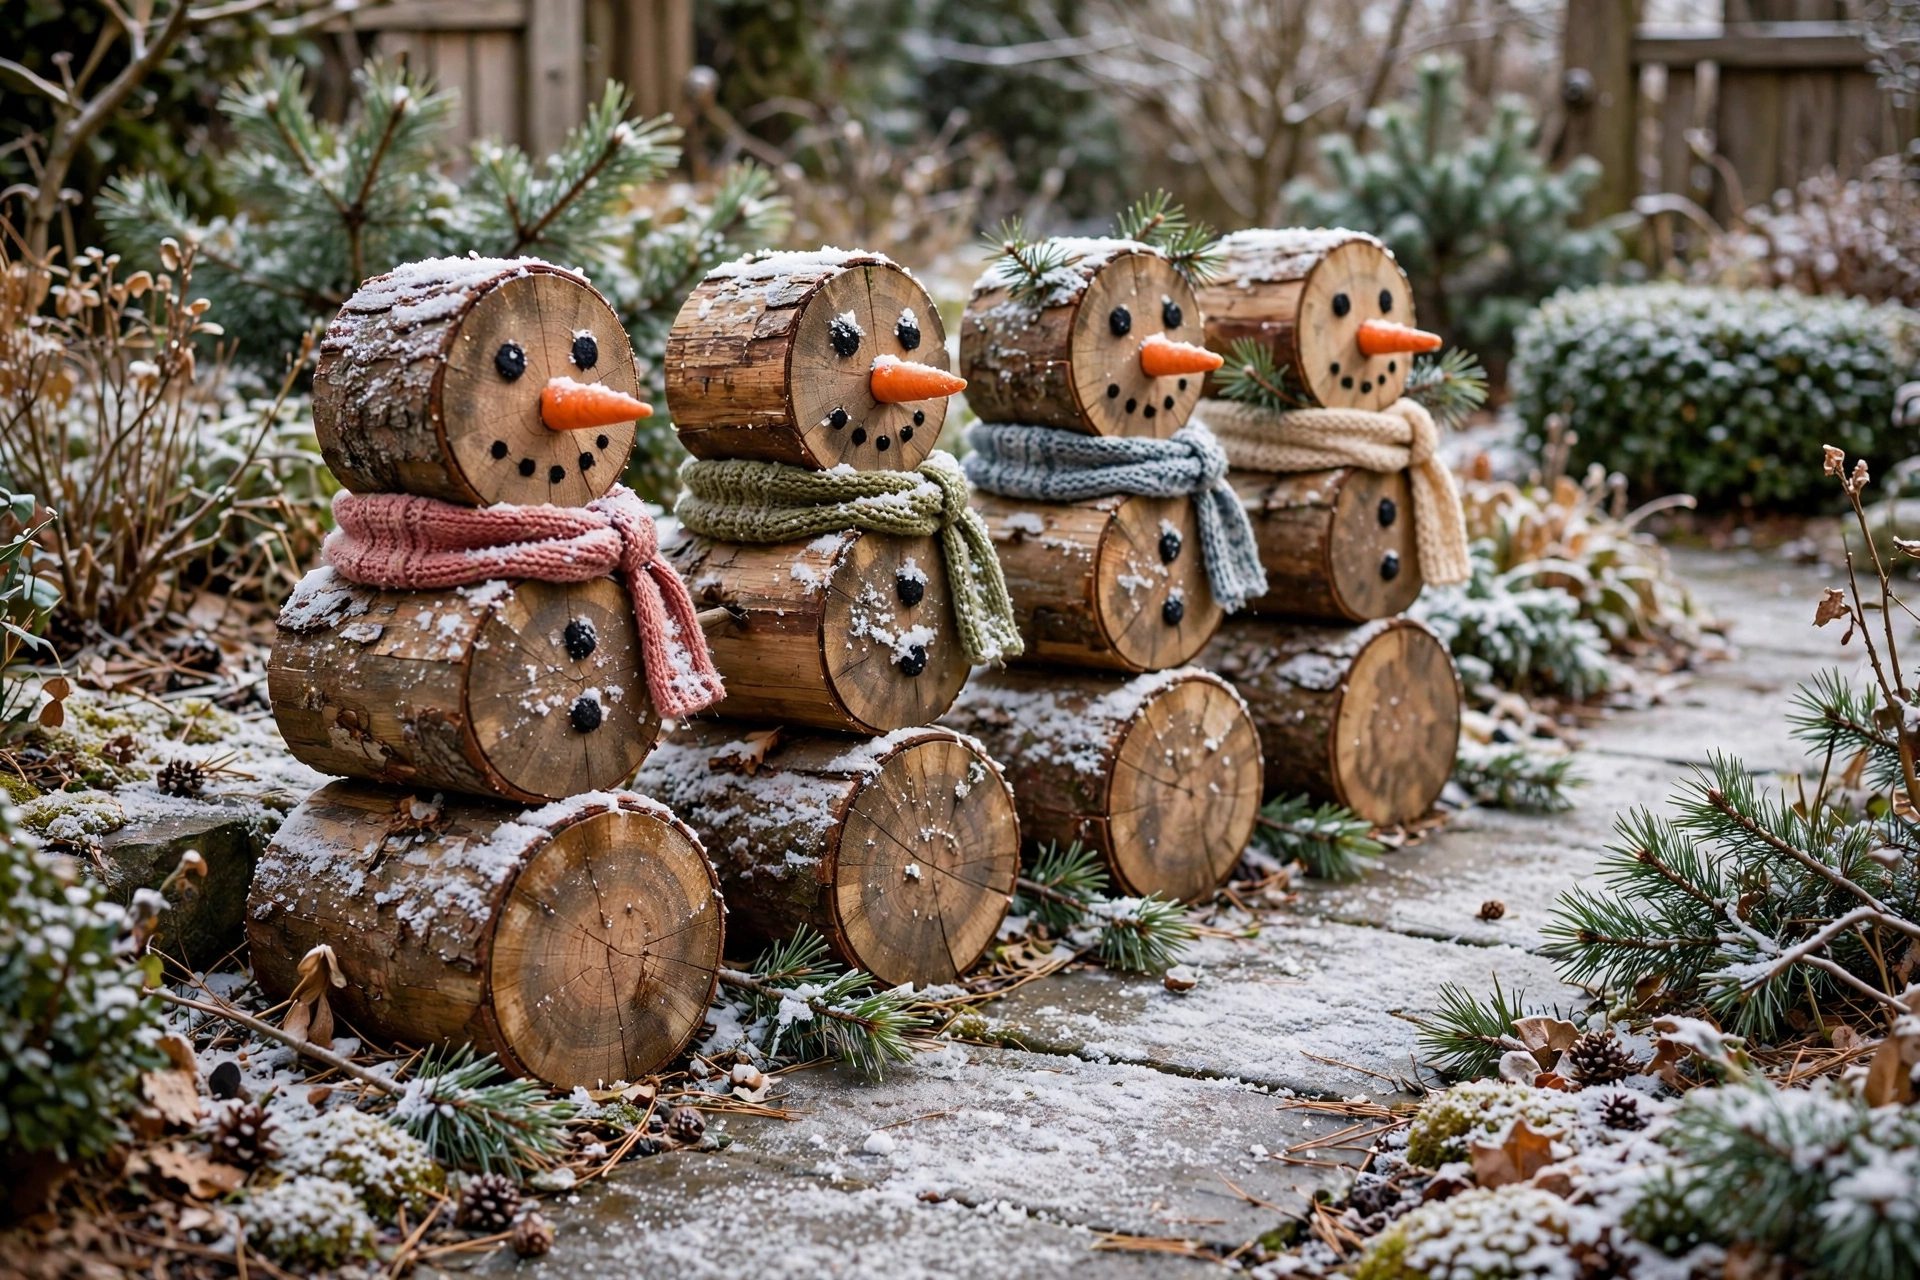
2. Stack log snowmen by the walkway
Slice three rounds from a firewood log, stack them biggest to smallest, and glue with exterior wood glue. Paint coal eyes and a carrot nose, then tie a strip of old scarf around the neck. A small battery candle beside each snowman adds a glow with no wiring.
Try this today: Saw three log rounds from firewood you already have.
3. Park an old sled in a garden bed
Lean a wooden sled against the fence or the porch wall, and load it with pine boughs and a red blanket. It needs no paint and no tools — just a sled and a walk in the garden. Thrift shops sell wooden sleds for almost nothing in November.
Try this today: Check the loft or a local thrift shop for a wooden sled.
4. Set up a wooden nativity silhouette
Cut a simple nativity shape from plywood — Mary, Joseph, and the manger in one flat panel. Paint it dark green so it shows up against pale grass and snow. Stake it along the house wall where the eye naturally rests.
Try this today: Sketch the silhouette on cardboard first to get the size right.
5. Cluster oversized gift boxes on the lawn
Wrap three large cardboard boxes in outdoor fabric and tie them with wide ribbon. Tuck them near a tree or the reindeer family like a delivered pile. Fabric wraps survive rain better than paper and fold flat for January storage.
Try this today: Wrap one box in a plastic tablecloth and test it in the rain first.
DIY Yard Stakes & Painted Signs
Signs are the cheapest decoration you can make, and children love them most. One painted board, a stake, and a little paint is all each needs.
6. Paint a North Pole arrow stake
Paint a wooden plank cream, letter “NORTH POLE” in red, and add an arrow pointing down the street. Screw it to a pointed stake and push it into the lawn near the kerb. It takes twenty minutes and lasts for years if you seal it with outdoor varnish.
Try this today: Cut one plank to arrow shape and paint the background coat.
7. Make a Santa Stop Here sign
Paint “SANTA STOP HERE” on a red board in white letters and plant it where the kids can see it from their bedroom window. Add a tiny painted sleigh silhouette in the corner. This is the sign your children will remember forever.
Try this today: Ask the kids to help with the lettering — wobbly paint reads as charm.
8. Build a countdown-to-Christmas stake
Paint a small framed chalkboard, write “SLEEPS TILL CHRISTMAS”, and update the number with chalk each evening. Mount it on a stake near the front door.
Try this today: Seal the chalkboard paint with outdoor varnish so rain does not wash it.

9. Stake a pallet Christmas tree
Stand a pallet upright, saw the slats into a tree triangle, and paint it green or leave the wood bare. Nail on small painted ornaments or wrap a single strand of battery fairy lights around it. Two short stakes behind the pallet keep it steady in wind.
Try this today: Ask a garden centre for a free spare pallet.
10. Add a Let It Snow board
Paint a wide board deep navy, stencil “LET IT SNOW” in white, and edge it with small painted snowflakes. Stake it in a bare flower bed where winter colour is missing. The navy board glows against pale winter grass all day long.
Try this today: Use a sponge stencil for the snowflakes — faster than a brush.

Planters, Mailbox & the Porch-to-Yard Link
Planters and the mailbox connect the house to the lawn. Dress these first and the whole yard looks finished.
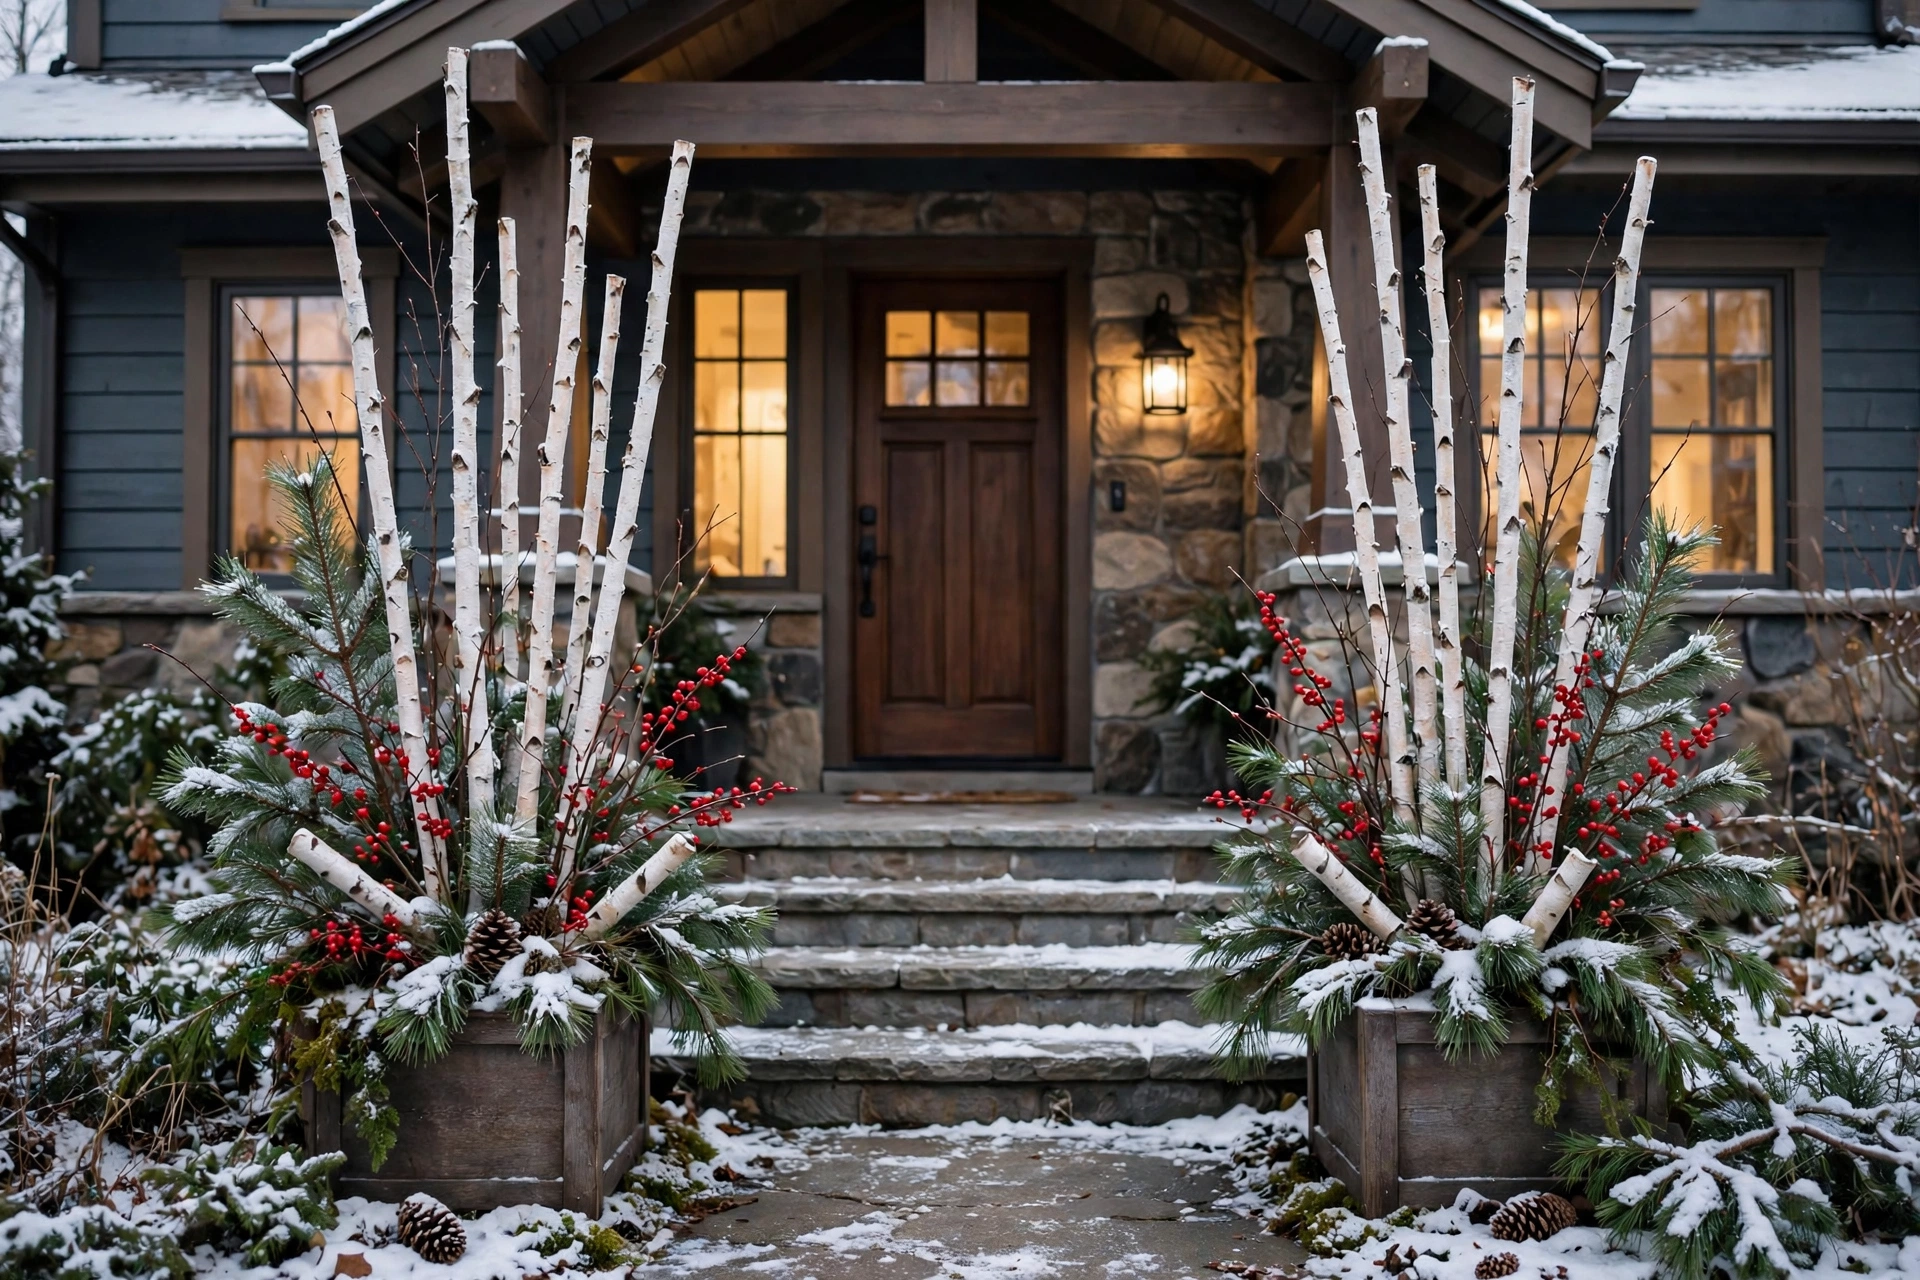
11. Fill winter planters with birch and pine
Empty summer pots and push in three white birch stems, a ring of pine branches, and a few red berry picks. Water once — the cold keeps them fresh for weeks. One pair flanking the front door sets the tone for the whole yard.
Try this today: Cut birch stems to twice the pot height before you arrange.
12. Line the steps with mini evergreens
Set three small potted evergreens on alternating steps, smallest at the top. Slip each pot into a burlap sack for a finished look. They survive all winter and plant out in spring.
Try this today: Buy one size smaller than you think — small trees look tidier on steps.
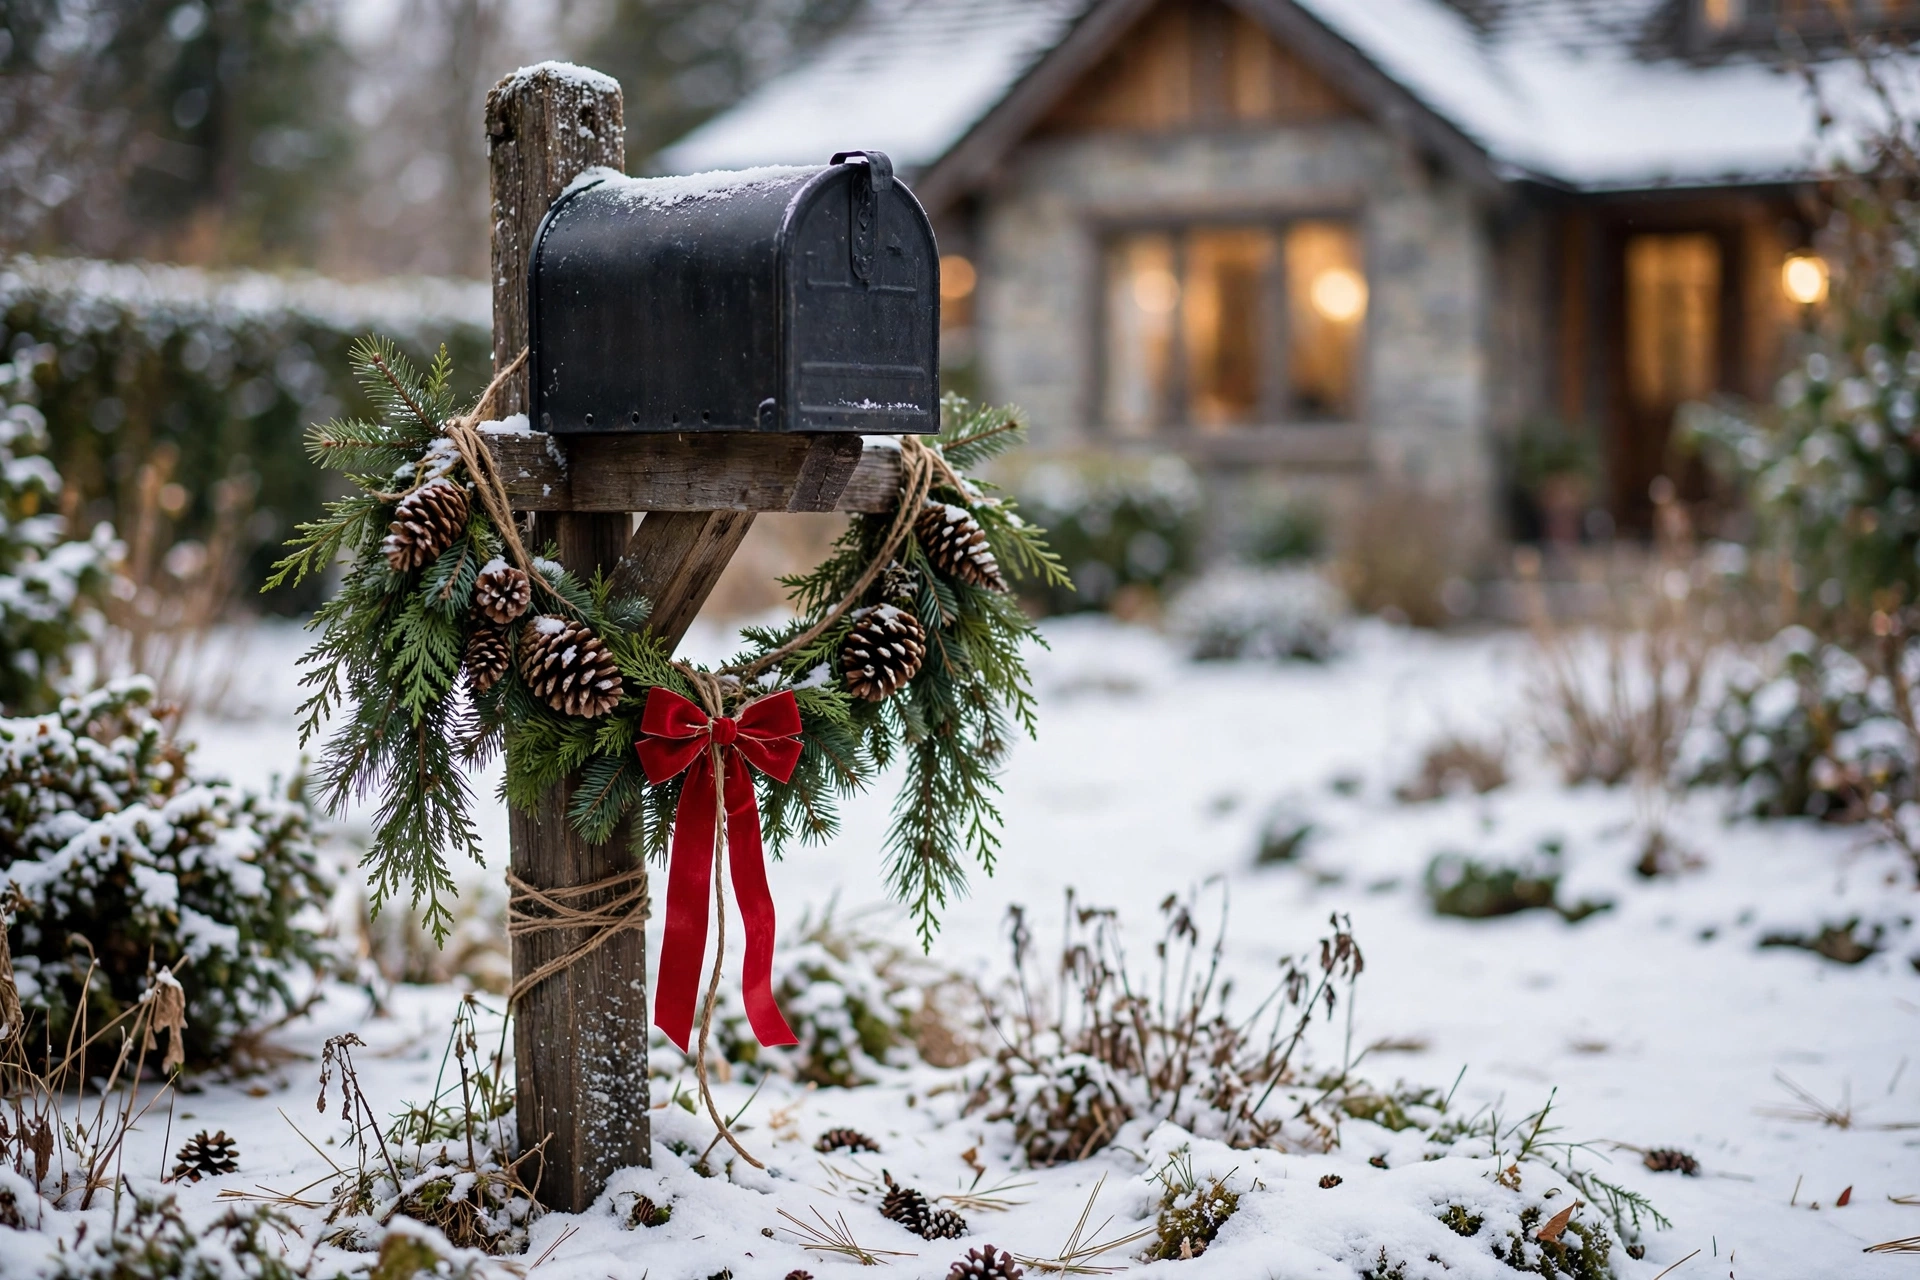
13. Dress the mailbox with a pine swag
Tie a bundle of pine and pinecones around the mailbox post with twine, and finish with a red bow. It takes ten minutes and greets the postman all December.
Try this today: Wire the swag tight — winter wind tests every knot.
14. Set lanterns at the yard entry
Place two metal lanterns where the path meets the lawn, each with a battery pillar candle inside. They mark the boundary between street and home. Choose lanterns with a handle so you can lift them in during storms.
Try this today: Set a timer on the candles so they light themselves at dusk.
15. Turn a half-barrel into a mini tree bed
Fill a wooden half-barrel with soil, plant a small live evergreen in the centre, and tuck pinecones around its base. It reads as a full-size decoration with almost no work. Water it monthly and the tree lives for next year too.
Try this today: Drill drainage holes if your barrel has none.
16. Frame the gate with two tall pine sprays
Tie two long pine boughs to either side of the garden gate with twine, tips pointing up, and add three pinecones to each. Tall sprays make even a plain gate feel like an entrance. Clip them from your own trees for free.
Try this today: Cut boughs on a dry day so they keep their needles longer.
Inflatables Done Tastefully
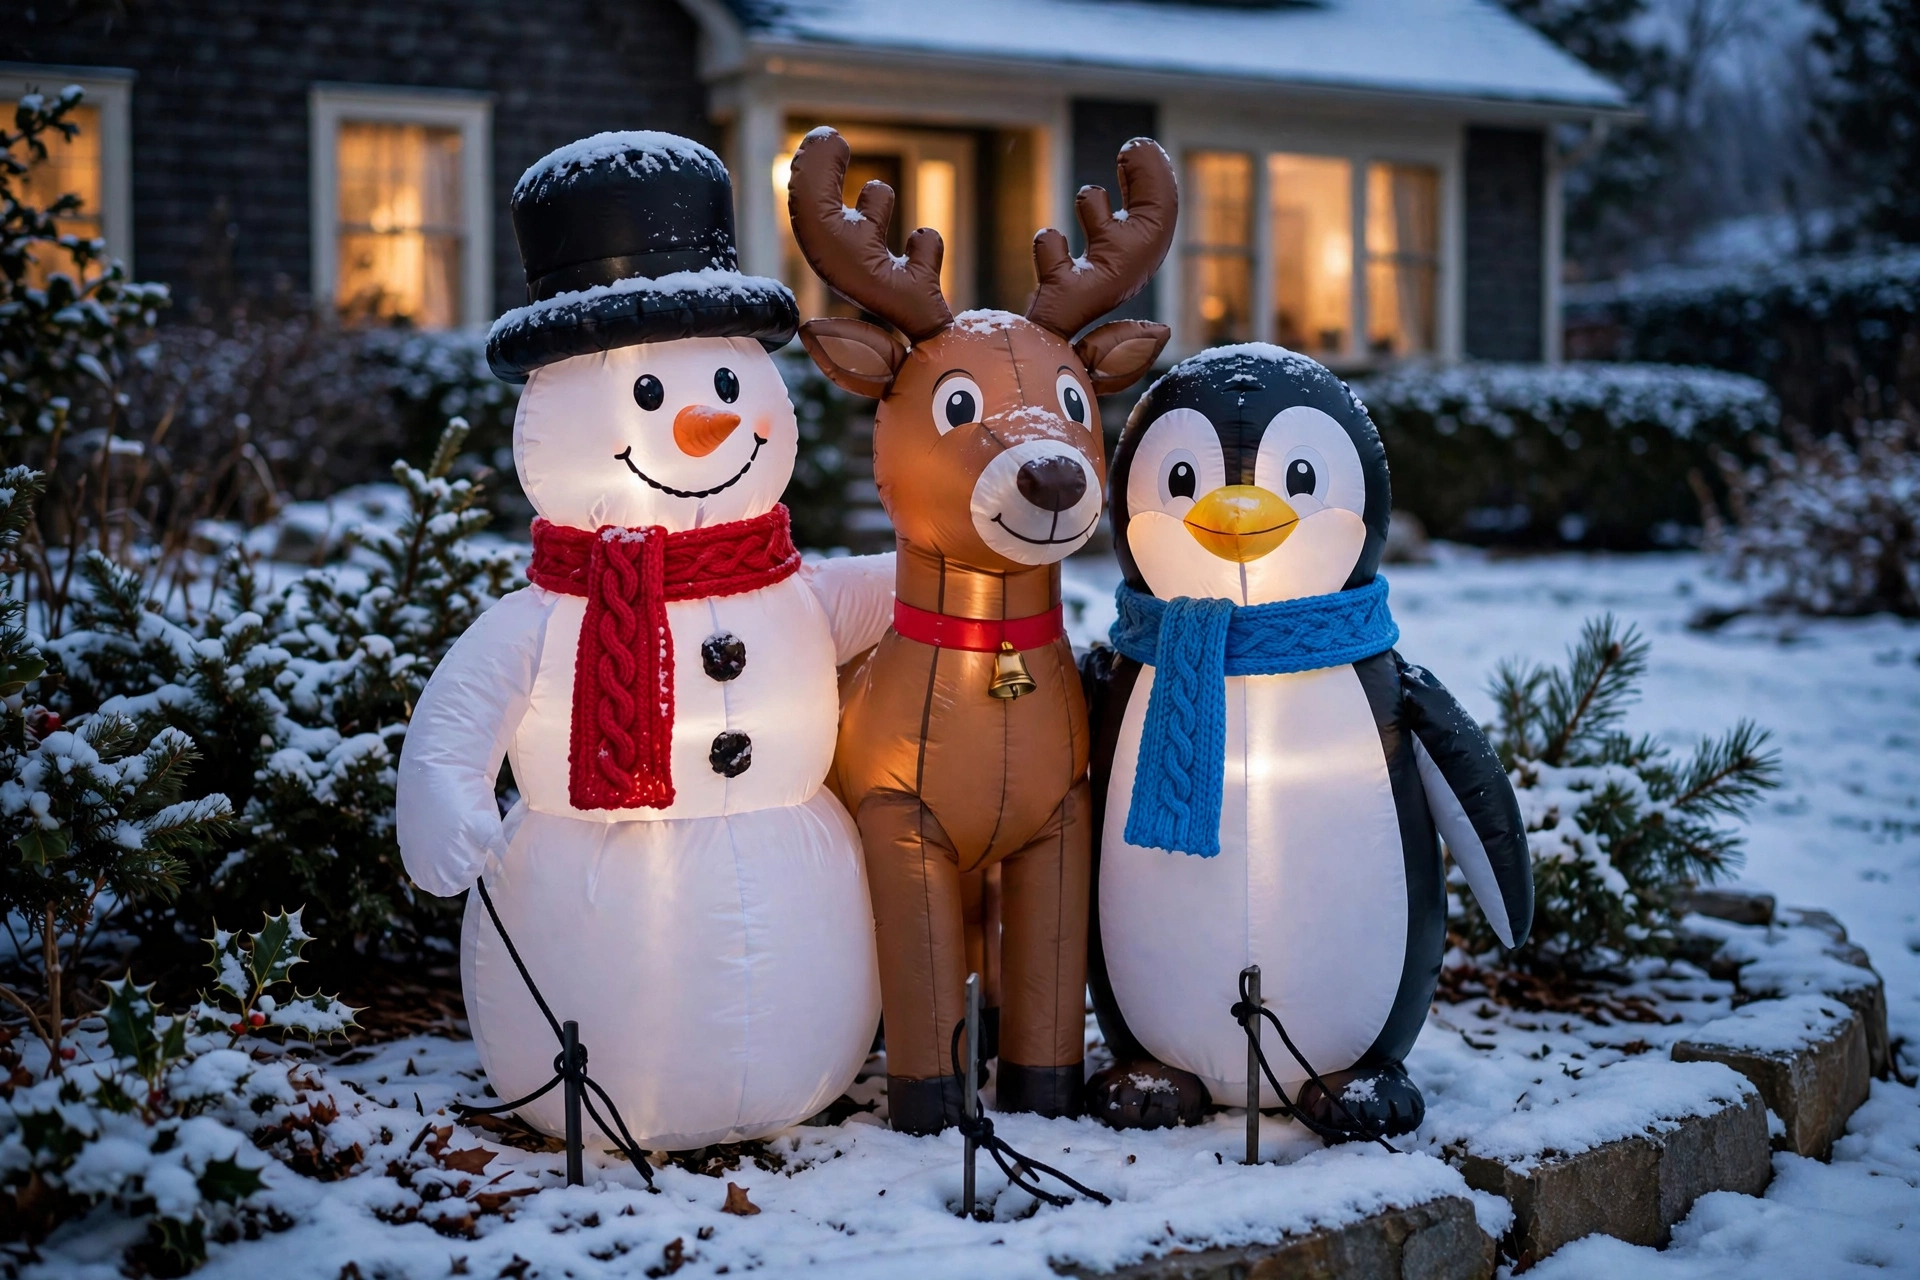
Inflatables get a bad name from yards that have too many. One well-placed inflatable, properly anchored, looks joyful — five tangled ones look like a car park.
17. Pick ONE hero inflatable
Choose one character — Santa, a snowman, a reindeer — and make it the star of the lawn. One big shape reads clearly from the road; three small ones compete and blur. Spend your budget on one good-quality piece rather than three cheap ones.
Try this today: Measure your lawn corner — most heroes need a six-foot square.
18. Anchor every inflatable properly
Drive the tethers deep and add sandbags inside the base in windy spots. A deflated, tangled inflatable is the saddest sight on the street. Five extra minutes with the stakes keeps it standing through December storms.
Try this today: Buy two extra tent pegs — the ones in the box are never enough.
19. Group in odd numbers, close together
If you do use more than one, keep them in a tight group of three or five, shoulder to shoulder. Odd numbers look planned; a scattered line looks accidental. Keep the whole group inside one garden bed or one lawn corner.
Try this today: Rope the group together at the back so they lean as one.

20. Pair one inflatable with handmade pieces
Set your inflatable beside the pallet tree or the log snowmen from earlier in this guide. The handmade pieces ground it and make the whole display look personal. Store-bought plus handmade always beats store-bought alone.
Try this today: Move your inflatable next to one wooden piece and step back — see the difference.
21. Tidy the cords and blower base
Run the cord along the ground under a mulch line and pin the blower base down with the tethers. Neat cords make the display look finished; trailing wires ruin it. A cable cover stops the lawnmower of accidents — tripping neighbours.
Try this today: Lay the cord route before you inflate, not after.
Rustic Handmade Touches
These small crafts fill the gaps between the big pieces. They cost almost nothing, children can help, and they give the yard its cosy feel.
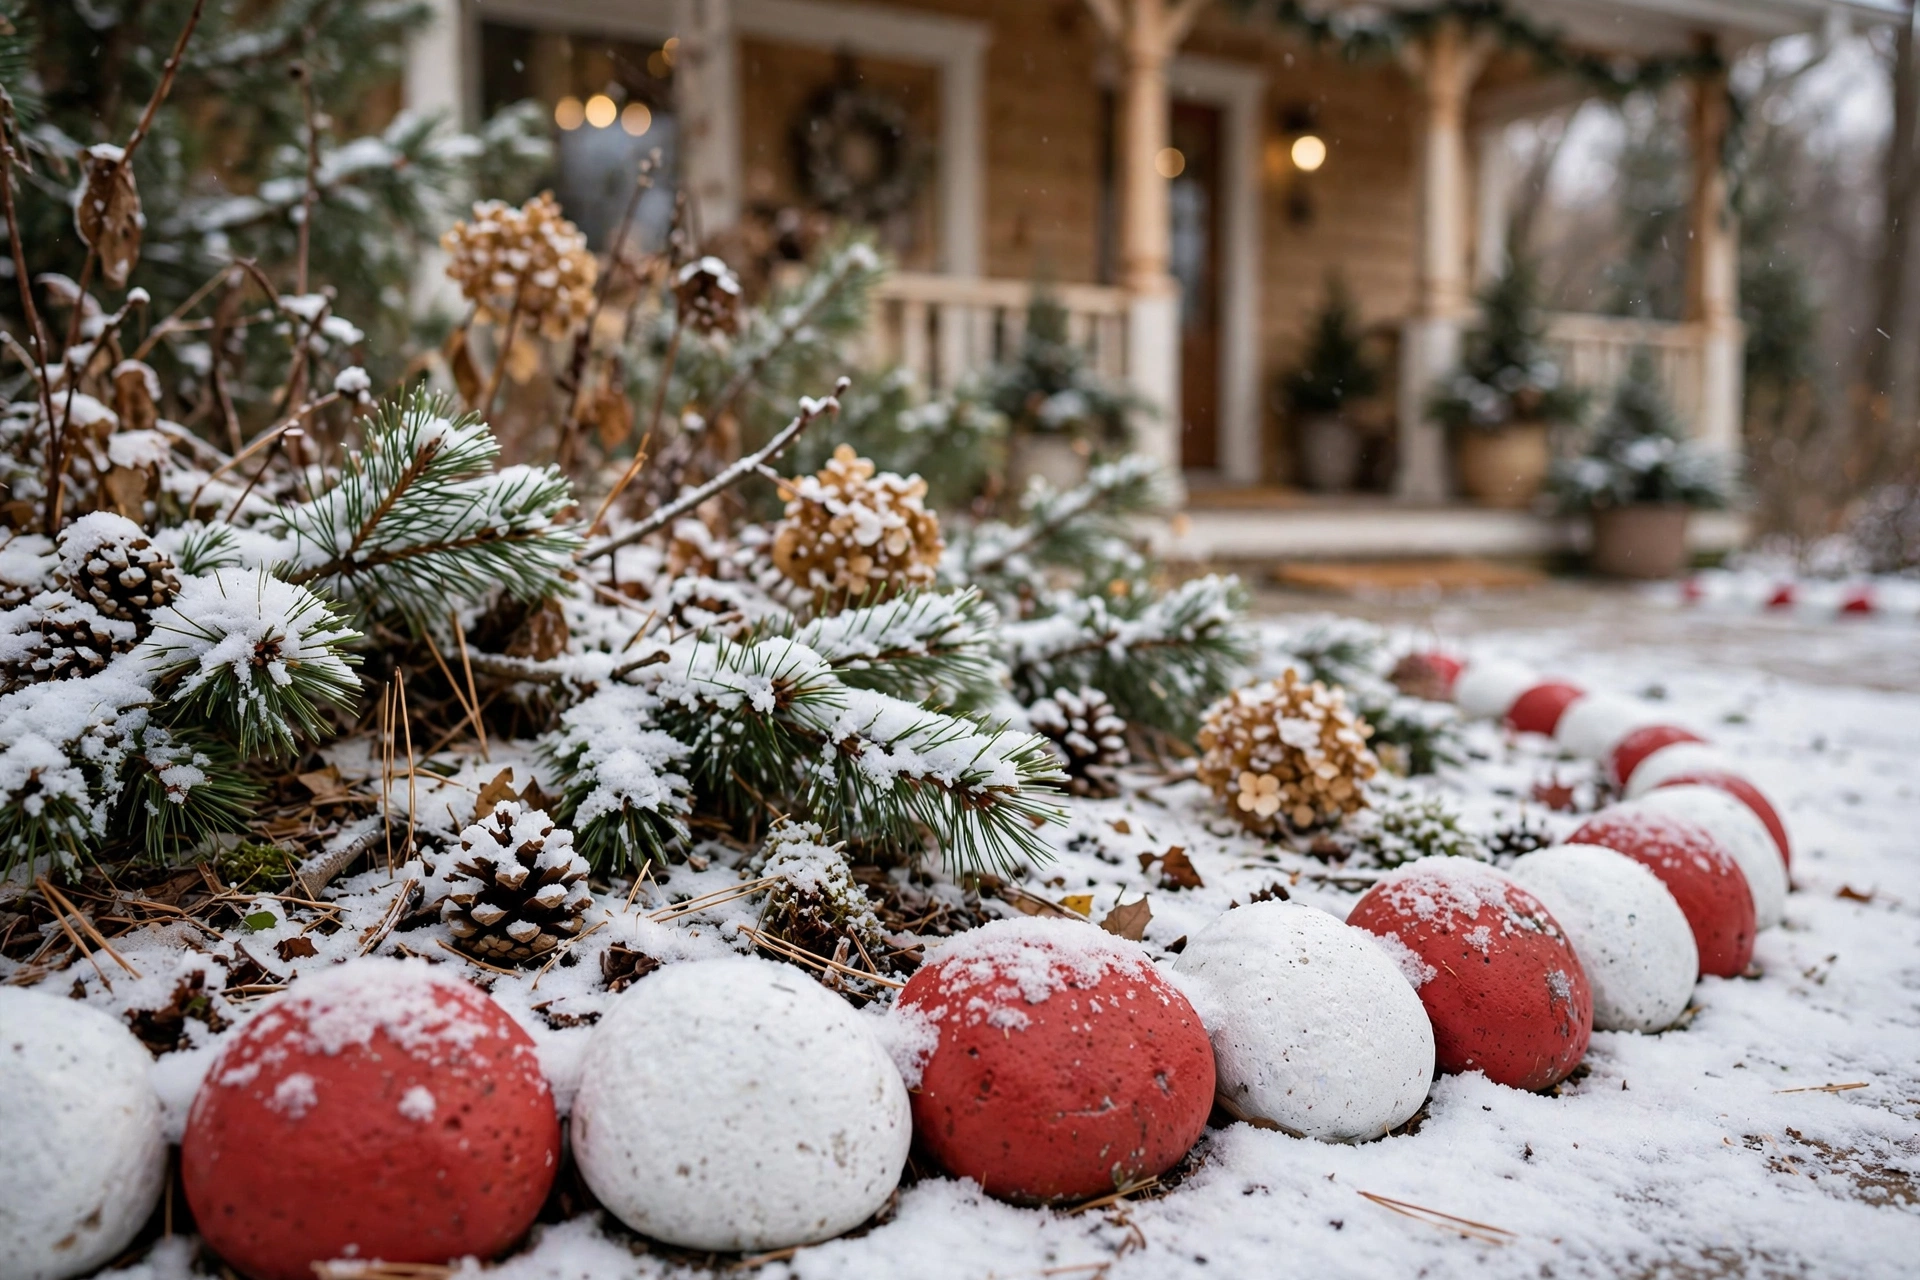
22. Paint a rock border along the beds
Collect smooth stones, paint them red, white, and green, and line them along the edge of a bare winter bed. Children love painting these. The colour carries the yard through the greyest weeks of December.
Try this today: Paint ten rocks in one sitting — a border needs more than you think.
23. Hang a winter birdhouse vignette
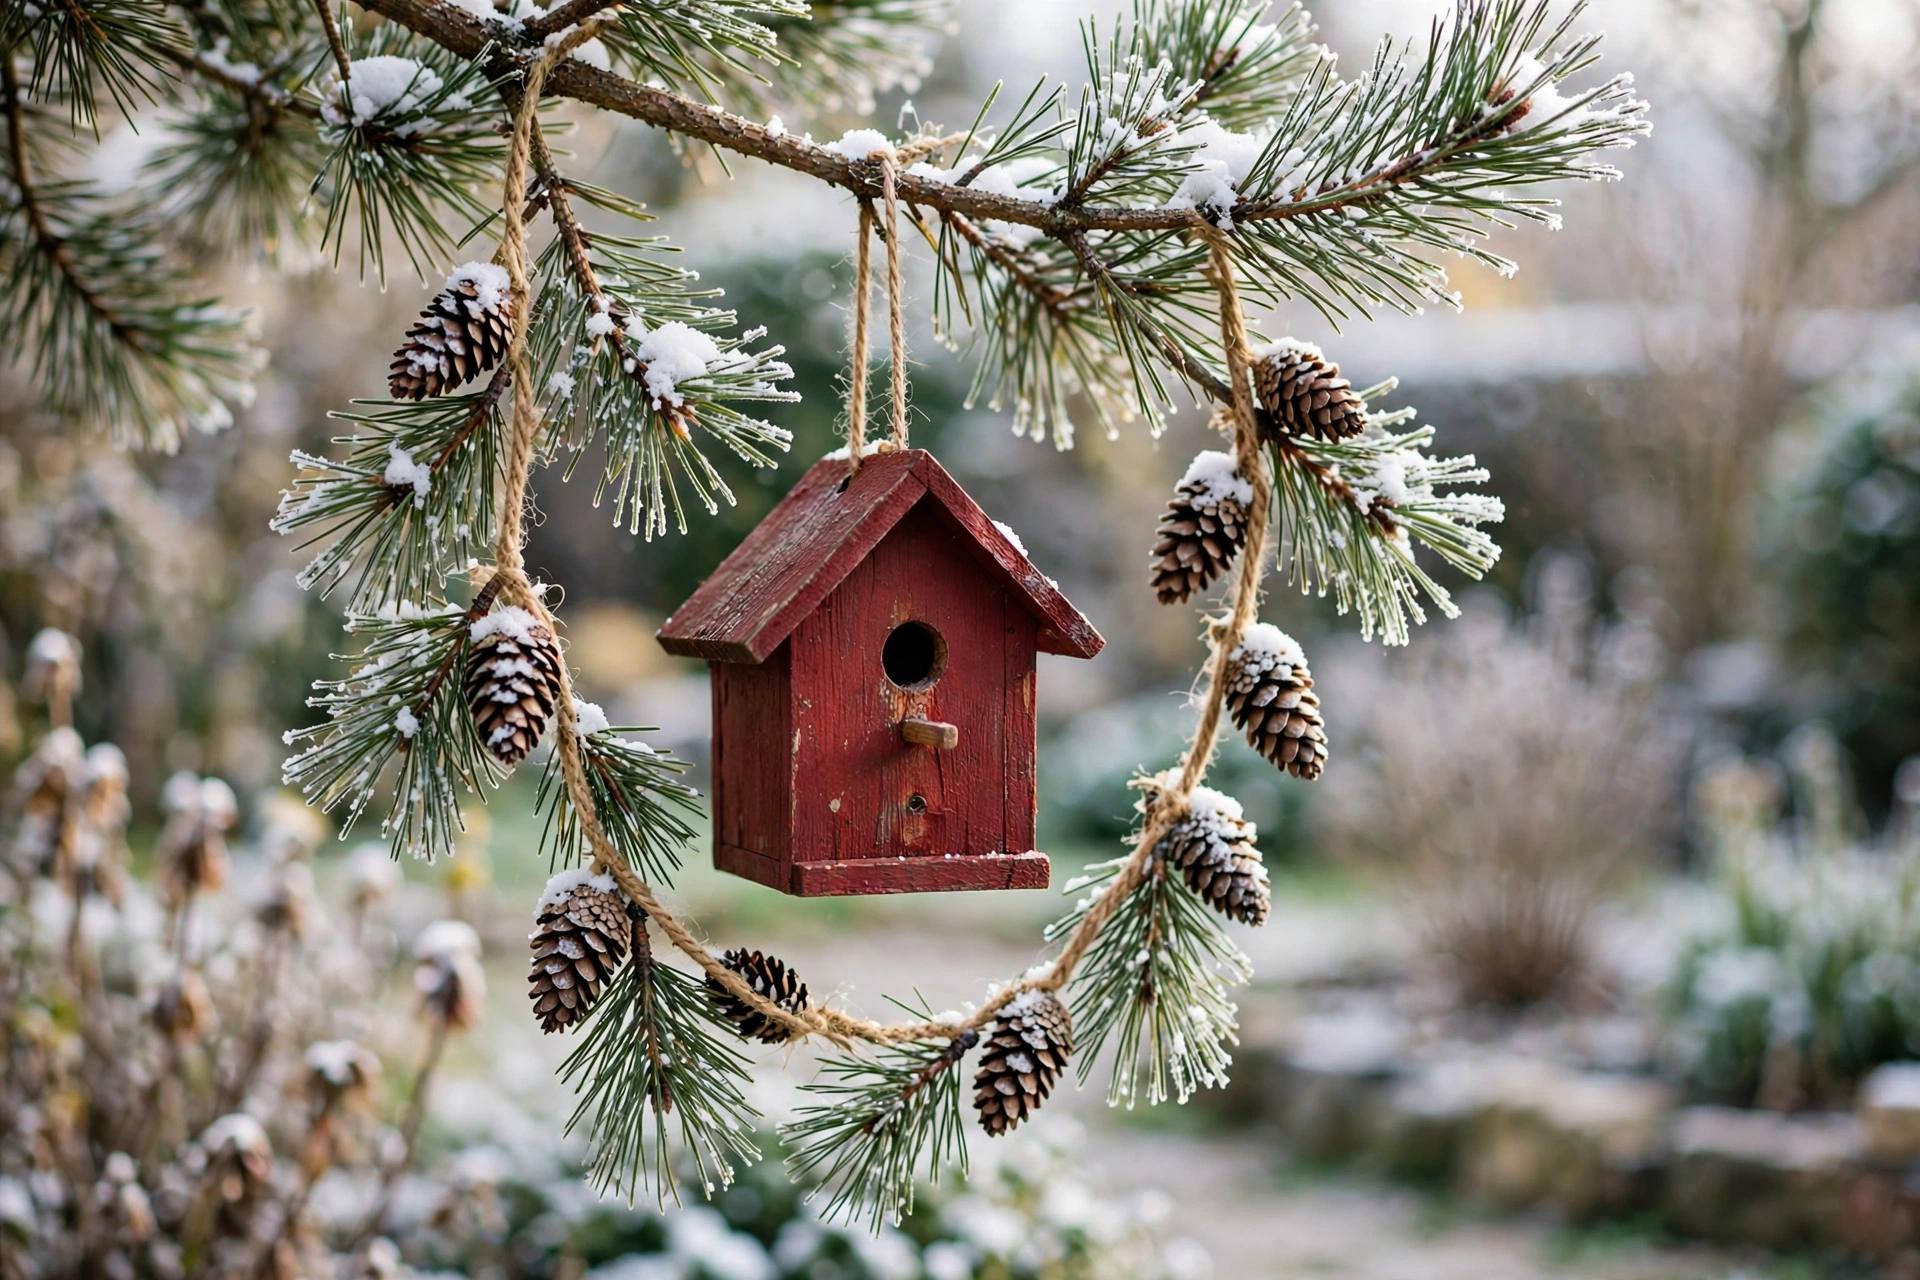
Hang a simple wooden birdhouse from a low branch and surround it with pine sprigs and a small pinecone garland. Fill the feeder so the birds visit — movement makes a yard feel alive. Paint the birdhouse deep red so it stands out in snow.
Try this today: Hang it at eye height where you can see it from the window.
24. Build a simple log sleigh
Lash four short logs into a rectangle for the base, curve two longer branches up at the front for the runners, and tie it all with garden twine. Fill the sleigh with pine boughs and pinecones. It looks far harder to make than it is.
Try this today: Cut all logs to the same length first — it builds square.
25. Fill a crate with cut pine logs
Stack short pine logs in an old wooden crate or basket and set it by the steps or the gate. The cut ends show their rings and smell wonderful. It is decoration and next year’s kindling in one.
Try this today: Cut logs to the same height so the top sits level.
26. Set out ice luminaries on cold nights
Freeze water in buckets with a smaller cup inside to make hollow ice shells, then set a battery candle in each. Line them along the path on freezing nights for a magical glow. They melt away by morning and cost nothing but freezer space.
Try this today: Make two tonight — they freeze overnight.
FAQs — DIY Christmas Yard Decorations
What are the cheapest DIY Christmas yard decorations?
Painted rocks, hand-painted signs, and log snowmen cost almost nothing — paint, plywood offcuts, and firewood are the cheapest materials. Pallet trees are free if you ask a garden centre for a spare pallet. Start with signs and rocks this year and add one big piece each December.
How do I protect wooden yard decorations from rain and snow?
Seal both sides with outdoor varnish before they go outside, and re-coat every autumn. Raise figures off wet soil on bricks or a gravel pad so the bases do not rot. Bring painted signs into the shed during January and they will last five years or more.
How do I keep inflatable decorations safe in wind?
Use the tethers and stakes in the box, then add sandbags inside the base and two extra tent pegs. Place the inflatable in a sheltered corner rather than the open middle of the lawn. Deflate it during named storms — an hour of calm display beats a night of tangled plastic.
What can I put outside for Christmas at the last minute?
A pine swag on the mailbox, two lanterns at the path, and a crate of cut logs take under an hour and transform the front of the house. Painted rocks and a simple Let It Snow board are one-evening jobs. All of them use things you likely own already.
These 26 ideas share one secret: the yard looks best when most of it is handmade. Pick your three favourites this weekend, gather the supplies on one trip, and enjoy the loveliest lawn on the street — built by your own hands.
Save this guide to your Christmas board and share it with a neighbour — then tell me in the comments which idea you tried first.